


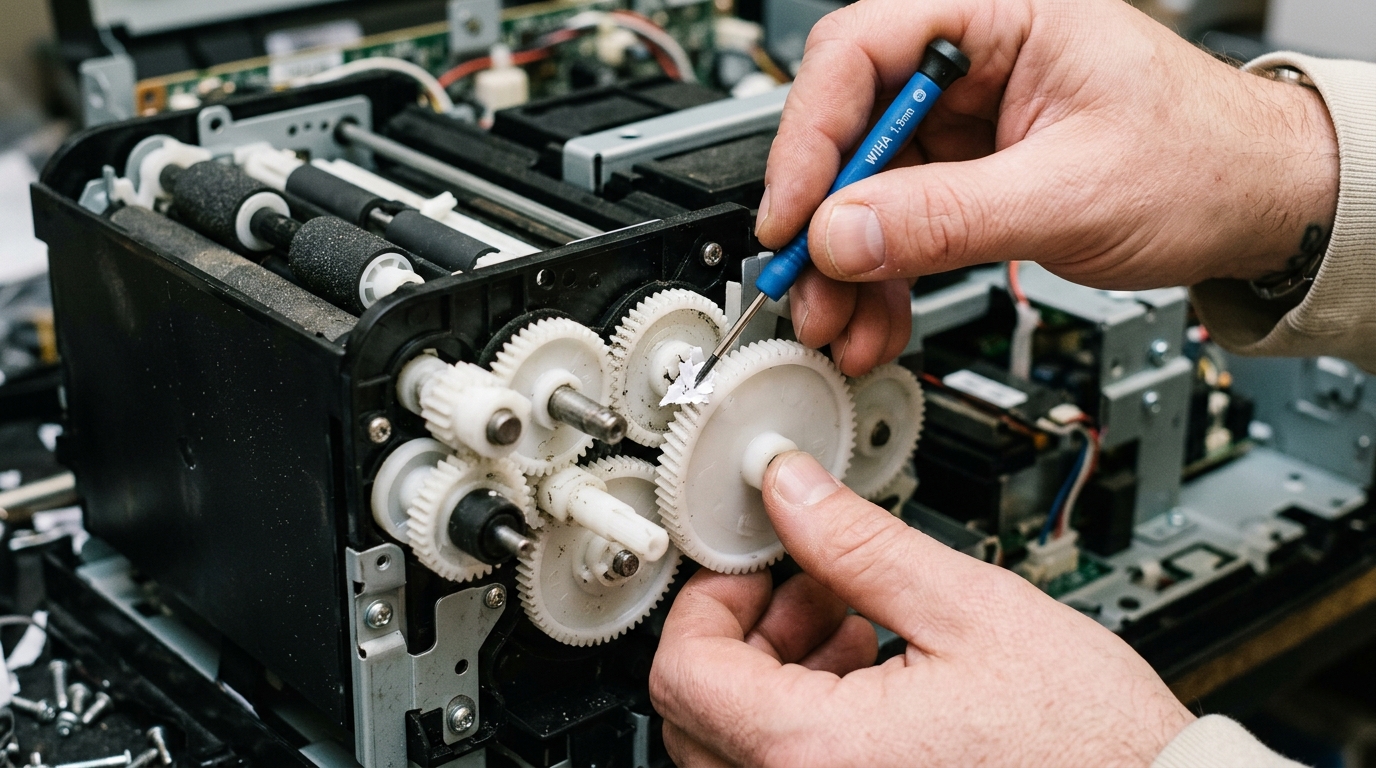
When a Kodak ESP or Hero printer starts making unusual grinding, clicking, or repetitive knocking sounds during printing or power-on initialization, it almost always indicates a mechanical problem rather than an electrical or software fault. These sounds are produced by the physical components of the print engine — the carriage motor, paper feed gears, or encoder timing strip — encountering resistance or losing synchronization.
Let's identify the source of the noise and fix it.
Identifying the Sound Pattern
The type of noise helps narrow down the fault location:
- Continuous Grinding: The printhead carriage is dragging against an obstruction on the guide rail, or the rail has dried out (lost lubrication).
- Repetitive Clicking (Rhythmic): One or more plastic gear teeth are stripped or worn. The gear rotates past the missing tooth and clicks each revolution.
- Single Loud Knock on Startup: The carriage is hitting the hard stop at the end of the rail during initialization. This is normal on some models but becomes louder if the carriage damper pad is worn or missing.
- High-Pitched Whining: The main drive motor or stepper motor bearings are wearing out. This is uncommon but indicates an aging motor assembly.
Step 1: Remove Foreign Objects
The most common cause of grinding noises is a foreign object trapped in the paper path or carriage area:
- Turn the printer off and unplug it from power.
- Open the top access door to expose the printhead carriage.
- Gently push the carriage by hand from left to right. It should slide smoothly with minimal resistance. If it feels sticky or grinds, inspect the guide rail for obstructions.
- Check for common foreign objects: paper clips, staples, torn paper scraps, pen caps, or dried ink clumps that have fallen into the carriage rail.
- Open the rear access panel (if your model has one) and check for torn paper lodged in the duplex feed path.
Step 2: Clean and Lubricate the Carriage Rail
The printhead carriage rides on a polished steel rail. Over years of use, the lubricant on this rail dries out, causing metal-on-metal grinding:
- Dampen a lint-free cloth with a few drops of warm water and wipe the entire length of the steel rail to remove dried ink, dust, and old grease.
- Apply a thin film of white g>white lithium grease (available at any hardware store) to the rail. Spread it evenly along the full length.
- Manually slide the carriage back and forth several times to distribute the grease.
- Do not use WD-40 or machine oil, as these attract dust and will gum up the rail over time.
Step 3: Inspect Carriage Drive Gears
The carriage is driven by a toothed rubber belt connected to a set of small white plastic gears. If one tooth is stripped:
- With the access door open rror-codes-alerts/kodak-printer-error-3501" title="Fix Kodak Printer Error 3501: Access Door Open Bug">access door open and the printer unplugged, look at the left side of the carriage assembly where the drive belt wraps around a small gear pulley.
- Slowly rotate the gear by hand and inspect each tooth under a bright light.
- If a tooth is visibly broken or worn flat, the gear assembly needs replacement. Replacement gear kits for Kodak ESP models can be found on eBay or iFixit.
Step 4: Clean the Encoder Strip
The encoder strip is a thin, transparent plastic film running horizontally behind the carriage. It has microscopic lines printed on it that the carriage sensor reads to determine position. If this strip is dirty, the carriage may lose its position and grind against the frame stops:
- Locate the encoder strip — it runs parallel to the carriage rail, slightly behind and above it.
- Dampen a soft cloth with distilled water (or a 50/50 mix of distilled water and isopropyl alcohol).
- Gently pinch the cloth around the strip and slide it from one end to the other. Do not apply pressure, as bending or creasing the strip will cause permanent position-tracking errors.
- Let it dry before powering the printer on.
Related Kodak Troubleshooting Guides
Diagnosing Grinding, Clicking, and Ratcheting Noises in Kodak Printers
Loud mechanical grinding or rapid clicking sounds from a Kodak printer indicate mechanical gear tooth slippage, carriage belt skipping, or purge pump binding. Identifying the physical location of the noise pinpoints the required repair.
Exhaustive Noise Diagnostic & Repair Protocol
- Grinding from the Left or Right (Carriage Collision):
If the printhead carriage slams violently into the left or right wall with a loud ratcheting buzz, the optical encoder strip is dirty. Clean the clear encoder strip behind the carriage with warm distilled water on a microfiber cloth.
- Rapid Clicking from the Far Right (Purge Station Jam):
The maintenance purge unit on the far right houses plastic cam gears that raise and lower the rubber capping station. If dried ink crust binds the capping carriage, the drive gear slips over the teeth, producing a loud clicking noise during bootup. Clean the purge station tracks with warm water.
- Grinding from the Bottom Paper Tray (Feed Gear Slippage):
If grinding occurs specifically when the printer attempts to pick up paper, inspect the pickup roller drive gear cluster on the left side of the bottom tray cavity. Ensure no foreign objects (coins, paperclips, staples) are lodged between the gear teeth.
- Guide Rod Lubrication:
Clean the steel carriage rail and apply 2 drops of synthetic silicone lubricant across the rod to eliminate metal-on-bushing friction squeaks.
Frequently Asked Questions
Should I use WD-40 on printer gears?
NEVER use WD-40, mineral oil, or cooking oil on a printer. WD-40 degrades plastic gears and attracts paper dust into an abrasive sludge.
Can a stripped gear be replaced?
Yes. Replacement drive gears and encoder strips for Kodak ESP and HERO models are readily available from printer parts suppliers.
