


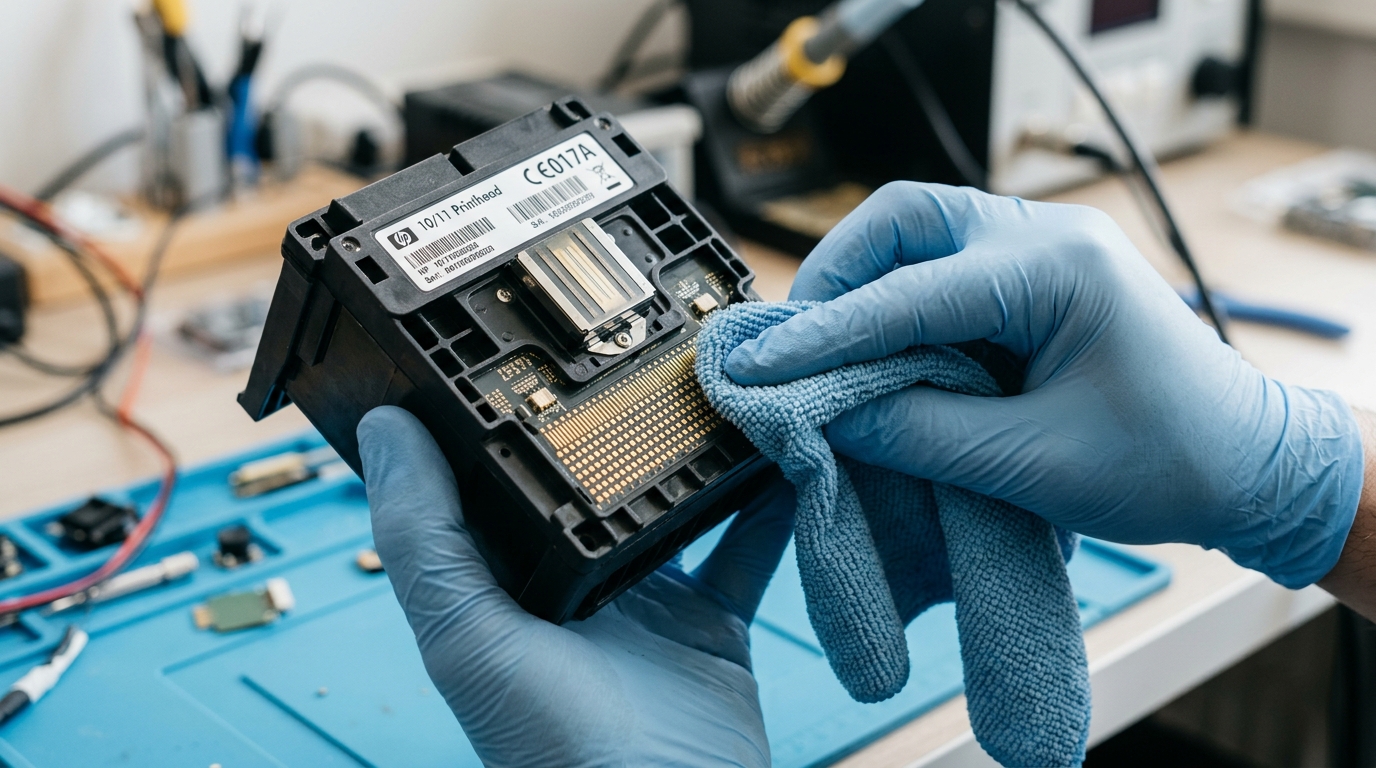
If your Kodak printer is producing blank pages, faint prints, or horizontal white lines through text, you are likely dealing with a clogged printhead. Because Kodak inkjets are legacy devices that may sit unused for months, the pigment-based ink dries inside the printhead's micro-nozzles, forming a solid plug.
Here is a safe, technician-approved guide to wet-cleaning and flushing your printhead.
DIY Printhead Cleaning Solution Recipe
If you don't have commercial printhead cleaning fluid, you can mix a highly effective cleaning solution at home using these proportions:
- 50% Distilled Water: Must be distilled to prevent mineral deposit buildup.
- 50% Isopropyl Alcohol (70% to 91% concentration): Helps break down the dried pigment ink binders.
Step-by-Step Wet Soaking Procedure
This method uses capillary action to draw the cleaning solution up into the nozzles and dissolve the dried ink plugs naturally.
📋 Cleaning Checklist & Supplies Needed
- Distilled water & Isopropyl alcohol
- A shallow, flat-bottomed container (like a plastic lid or small bowl)
- High-quality paper towels or lint-free microfiber cloths
- A small syringe (optional, for stubborn clogs)
- Remove the Printhead: Open the printer, remove the ink cartridges, release the carriage latch, and pull the printhead block out.
- Prepare the Soak: Place a paper towel folded in quarters at the bottom of your shallow container. Pour enough cleaning solution into the container to saturate the paper towel and form a shallow pool about 1/4 inch deep.
- Position the Printhead: Place the printhead unit into the container, **nozzles-down** (the metal plate at the bottom), resting directly on the wet paper towel. Ensure the solution does not rise high enough to submerge the gold circuit board on the back of the printhead.
- Let it Soak: Leave the printhead to soak for **20 to 30 minutes**. You will see ink start to bleed out onto the paper towel. For severe clogs where the printer has sat unused for years, you can let it soak overnight.
- Blot and Dry: Remove the printhead. Gently blot the bottom nozzle plate on a clean, dry paper towel. **Do not wipe or scrub**, as this can scratch the nozzle plate.
- Dry the Contacts: Ensure the gold circuit contacts on the back are completely dry. If any liquid splashed onto them, wipe them dry with a microfiber cloth.
- Reinstall and Test: Snap the printhead back into the carriage (listen for the loud snap!), insert the ink cartridges, and run the printer’s built-in "Printhead Cleaning" cycle from the maintenance menu.
Advanced Fix: The Syringe Flush Method
If soaking does not clear the clog, you can force the solution through the ink intake ports using a syringe to break up stubborn internal blockages.
- Locate the circular ink intake ports (the mesh screens inside the printhead where the cartridges sit).
- Fill a small syringe (without a needle) with 2-3 mL of warm distilled water or cleaning solution.
- Press the tip of the syringe firmly against the rubber seal of the clogged ink port.
- **Gently and slowly** push the plunger. You should see a fine mist of ink/water spray out from the bottom nozzle plate. If there is strong resistance, stop pushing, let it soak longer, and try again. Forcing it too hard will rupture the internal printhead membrane.
Prevention Tips
To prevent future printhead clogging, run at least one test print or copy every 10–14 days. This keeps the ink flowing through the nozzles and prevents it from drying out inside the printhead assembly.
Related Kodak Troubleshooting Guides
Why Kodak Pigment Inks Clog Printheads
Unlike dye-based inks used in many consumer printers, Kodak inks utilize micro-ground pigment particles suspended in liquid. Pigment inks deliver exceptional archival longevity, water resistance, and crisp dark text.
However, when the printer is left unused for weeks or stored in dry environments, the liquid solvent evaporates, leaving behind a hard crust of pigment resin that blocks the microscopic 10-micron nozzle apertures.
3-Tier Cleaning Protocol: From Software to Manual Flush
- Tier 1: On-Board Automated Power Clean:
From the printer control panel, navigate to Maintenance > Clean Printhead. The printer activates an internal peristaltic pump to suck ink through the nozzles into the waste pad. Run a maximum of 2 cycles. Running more than 2 consecutive cycles overheats the nozzle heaters and depletes ink reservoirs.
- Tier 2: The Syringe Pressure Flush Method:
- Remove the ink cartridges and the printhead assembly.
- Locate the cylindrical ink inlet ports (the small round mesh screens on top of the printhead where cartridges dock).
- Fit a short length of soft silicone tubing onto a plastic syringe filled with warm distilled water or dedicated printhead cleaning fluid (a mixture of 80% distilled water and 20% isopropyl alcohol with a drop of surfactant).
- Firmly press the tubing over the ink inlet post and gently depress the syringe plunger.
- Look at the bottom of the nozzle plate: you should see a fine, uniform "curtain" of liquid spray out. If liquid streams sideways or doesn't emerge, continue gentle pulsing until all nozzles flow freely.
- Tier 3: Blotting & Capillary Action Cleanse:
Fold a lint-free shop towel moistened with warm distilled water. Press the nozzle plate firmly down onto the wet towel and hold for 30 seconds. Capillary action will draw old, congealed ink out of the nozzle channels.
Frequently Asked Questions
Can I use Windex or ammonia to clean a Kodak printhead?
Ammonia-based window cleaners can dissolve dried pigment, but if left in contact with the printhead for more than 2 minutes, the harsh alkali will corrode the delicate nickel-alloy nozzle plate and ruin the electrical seal. Distilled water or specialized inkjet cleaning solution is much safer.
How can I prevent Kodak printhead clogs in the future?
Always power off your Kodak printer using the physical Power button on the control panel, NEVER by switching off a power strip. The power button triggers a shutdown sequence where the printhead automatically docks over the rubber capping station to seal the nozzles from airborne drying.
