


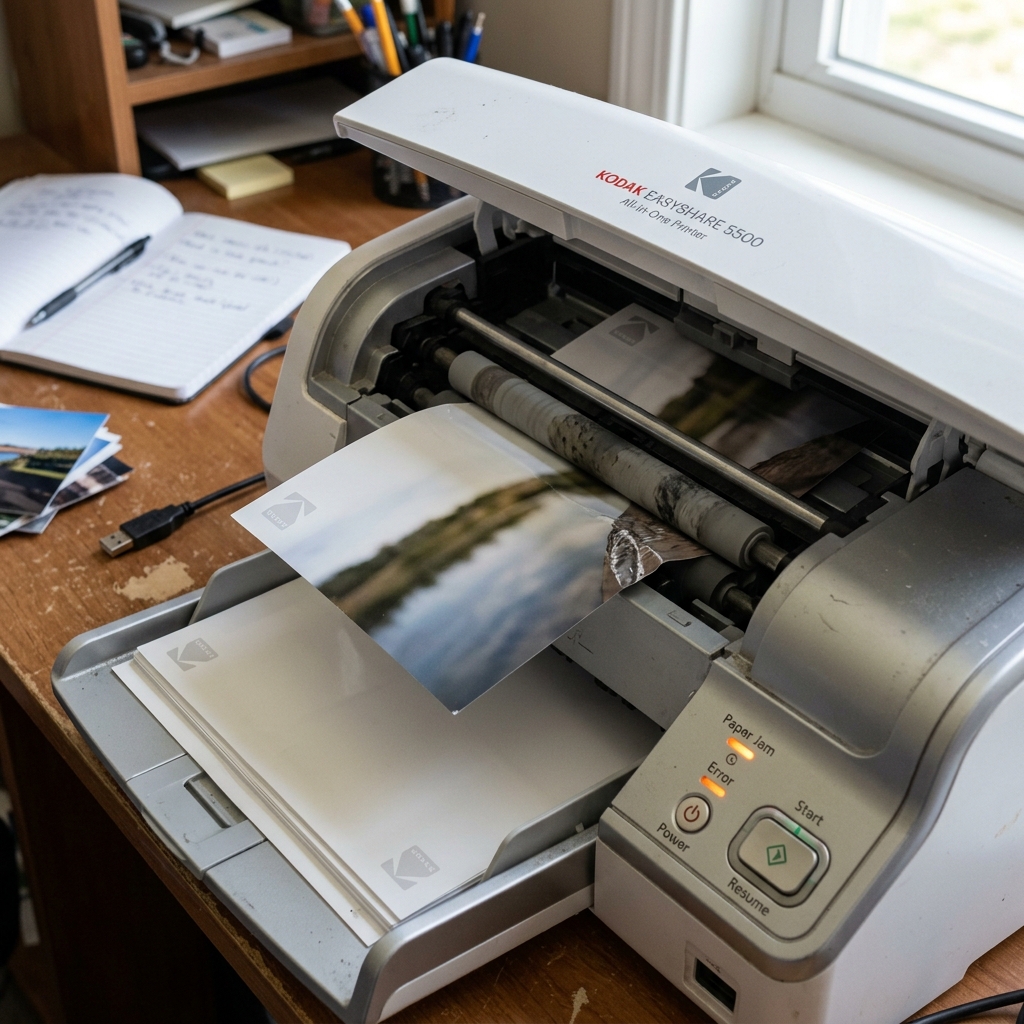
One of the most common complaints among users of Kodak portable photo printers (like the Kodak Mini 3 Retro and Dock Plus) is the "Paper Feed Failure" or "No Paper" warning. The printer gears will spin, but the sheet stays in the tray, or the printer grabs the sheet, slips, and throws an error light.
Because these printers are small, their rubber rollers are tiny. A small amount of paper dust or fingerprint oil on the rollers can cause them to lose traction on the glossy sheets.
Let's look at the cleaning and calibration steps to restore traction.
The Physics of Miniaturized Paper Feeding
Unlike desktop printers that use heavy-duty spring-loaded pickup assemblies, Kodak portable printers use small, low-torque rubber drive rollers. The print paper has a highly polished glossy coating.
If dust, hair, or oil from your fingers gets onto the sheets or the rollers, the friction coefficient drops. The rollers spin against the paper without pulling it, causing the sensor timing to expire and trigger a feed error.
Step 1: Clean the Rubber Pickup Rollers
To restore friction to the rubber roller surfaces:
- Power down the printer and unplug the charger.
- Remove the paper cassette (or open the rear paper door for Mini models).
- Shine a flashlight into the paper entry slot. You will see one or two small, grey rubber wheels mounted on a metal drive shaft.
- Dampen a cotton swab with **distilled water**. **Do not use rubbing alcohol on these specific rollers**, as alcohol degrades and hardens the soft rubber compound used in portable devices over time.
- Press the damp swab against the rubber roller. Use your other hand to manually rotate the gears (visible on the side of the slot) to roll the wheel under the swab.
- Repeat this process with a dry cotton swab to clean off any remaining water. Let the rollers air dry for 5 minutes.
Step 2: Clean and Fan the Photo Paper
Photo paper is often packed tightly, creating static cling that locks the sheets together:
- Remove the paper stack from the cassette tray.
- **Avoid touching the glossy print surface.** Hold the sheets only by the edges or the perforated tab strips. Fingerprint oils on the gloss coating will prevent both paper feeding and proper ink transfer.
- Gently fan the stack of sheets like a deck of cards to break any vacuum locks or static electricity between them.
- Inspect the edges for minor bends. If a sheet has a curled corner, discard it, as the low-clearance feed path of the portable printer will block it immediately.
- Reload the paper into the tray. For **Dock Plus**, ensure the glossy side is facing **up**. For **Mini Retro**, ensure the glossy side is facing **down** inside the slot.
Step 3: Clean the Front Alignment Plate
The plastic paper tray (cassette) has small alignment hooks that guide the paper sheet into the nip of the feed rollers. If these hooks are dusty or bent:
- Wipe the internal plastic guide rails of the cassette with a dry microfiber cloth.
- Inspect the paper tray door. Ensure the latch is undamaged and snaps into the printer chassis with a firm click. If the tray sits loose, the rollers will not reach the paper stack.
Step 4: Perform a Hard Power Reset
If the printer continues to report a paper jam or feed error when the rollers are clean, the internal sensor flags may need resetting:
- With the printer turned on, locate the reset pinhole near the charging port.
- Use a paperclip to hold the reset switch down for 5 seconds.
- The printer will run a self-test cycle, spinning the rollers to verify the paper path is clear, and resetting the optical sensor values.
Related Kodak Troubleshooting Guides
Why Kodak Photo Printers Slip on Glossy Media
Kodak Premium Glossy Photo Paper features a specialized resin-coated high-gloss finish that provides laboratory-grade photo clarity. However, the smooth high-gloss surface provides significantly less mechanical friction than standard matte copy paper.
When the rubber feed rollers accumulate microscopic paper dust or skin oils, the rollers spin on top of the photo sheet without grabbing it, resulting in "Paper Out" or "Feed Failure" errors.
Exhaustive Roller Cleaning & Media Conditioning Guide
- Clean the Rubber Feed & Retard Rollers:
Dampen a clean microfiber cloth with warm distilled water. Wipe the rubber feed rollers inside the bottom cassette or rear feed slot. Rotate the rollers manually while cleaning to ensure the entire 360-degree circumference is treated. Allow 10 minutes to air dry completely before loading media.
- Condition the Photo Paper Stack:
- Do not load photo paper straight from a cold mailbox or humid room. Allow the paper to acclimate to room temperature for 1 hour.
- Fan the edges of the photo paper stack before loading to break the electrostatic vacuum between sheets.
- Never load more than 15-20 sheets of glossy photo paper at a time in consumer desktop trays.
- Proper Sheet Orientation in Kodak Trays:
In bottom-loading cassette trays (ESP and HERO series), load photo paper with the glossy print side facing DOWN. In top-loading portable models, load paper with the glossy side facing UP.
Frequently Asked Questions
Can I use non-Kodak glossy photo paper?
Yes, but ensure the paper weight does not exceed 250 g/m². Very thick 300+ g/m² commercial photo paper is too rigid to negotiate the 180-degree U-turn feed path in Kodak desktop printers.
Why does the printer leave black roller marks on the back of my photos?
Ink mist and dust on the lower idler rollers can transfer to the backside of the paper during transport. Clean the white plastic idler wheels in the bottom feed tray with water.
