


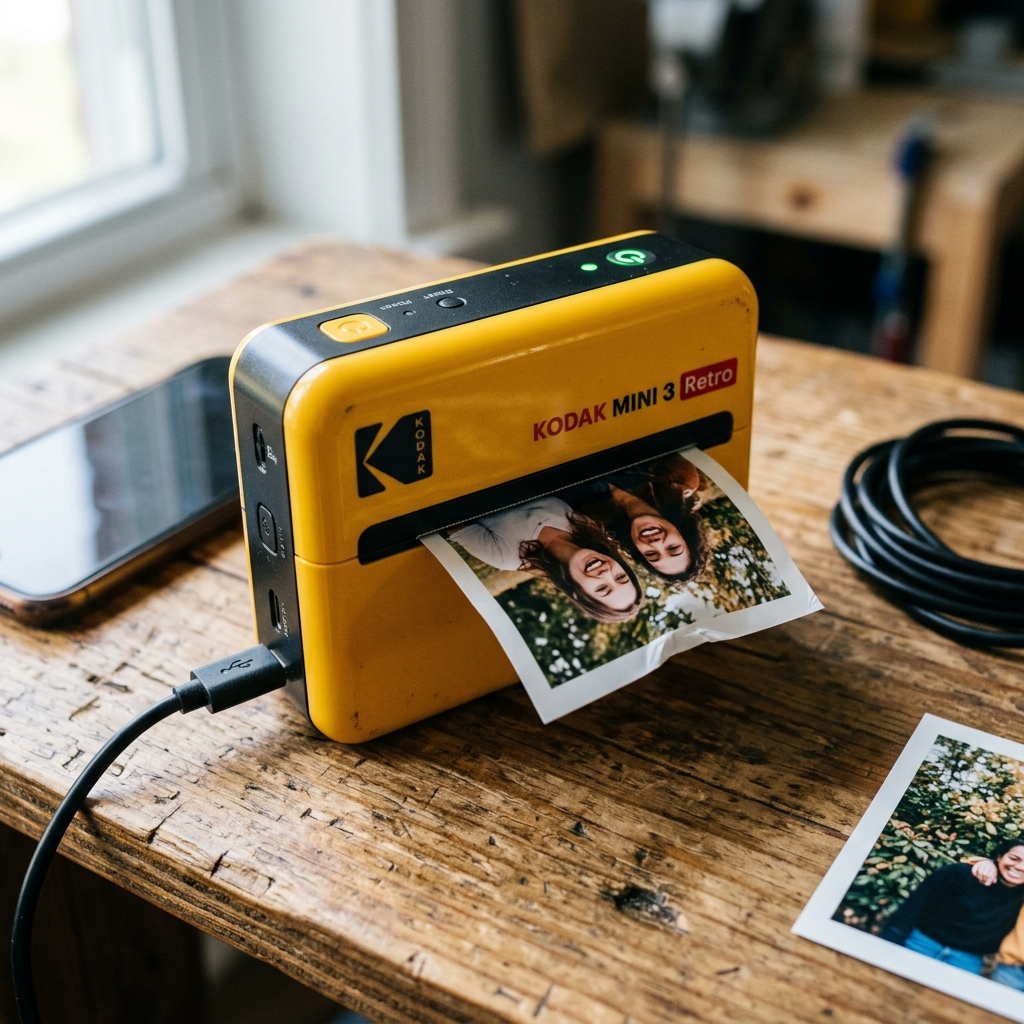
One of the most frustrating issues with the Kodak Mini 3 Retro instant photo printer is the mid-print failure: the printer begins processing a photo, completes the first color pass (usually yellow), and then stops, ejects the paper, or throws an error light.
Because the Mini 3 Retro uses a 4PASS dye-sublimation process — printing Yellow, Magenta, Cyan, and a clear Overcoat layer in four separate mechanical passes — the paper must cycle back and forth through the printer four times.
Any mechanical resistance or timing error during these passes will cause the printer to abort the job. Let's diagnose the root causes and resolve them.
Understanding the 4PASS Print Cycle
Each photo printed on the Mini 3 Retro undergoes the following sequence:
- Pass 1 — Yellow: The paper feeds forward. The thermal printhead heats the yellow panel of the ink ribbon, transferring yellow dye onto the paper. The paper is then pulled back into the printer.
- Pass 2 — Magenta: The ribbon advances to the magenta panel. The paper feeds forward again for the magenta layer. It retracts once more.
- Pass 3 — Cyan: Same cycle with the cyan panel.
- Pass 4 — Overcoat (Laminate): A transparent protective laminate layer is applied. The paper is ejected from the front of the printer.
If the printer fails at any pass, you will see a partially-colored photo (most commonly yellow-only, since that is the first pass).
Cause 1: Ribbon Spool Slack
The color cartridge contains the ink ribbon wound between two spools. If the ribbon is loose, the printer cannot advance to the next color panel accurately:
- Remove the cartridge from the printer.
- Hold the cartridge with the label facing you. Locate the two spool gears (usually white plastic) visible on the side.
- Using your thumb, turn the take-up spool counter-clockwise until the ribbon film is taut against the frame with no visible loops or slack.
- Reinsert the cartridge and try printing again.
Cause 2: Feed Roller Contamination
The internal rubber rollers that grip the photo paper during forward and reverse feeding can become slick from paper dust and fingerprint oils:
- Remove the paper tray and cartridge.
- Look inside the paper feed slot. Use a flashlight to locate the small grey rubber rollers.
- Wipe each roller with a dry, lint-free cloth or a cotton swab lightly dampened with distilled water.
- Manually rotate the roller gears while wiping to clean the entire circumference.
- Allow the rollers to dry fully before reloading paper.
Cause 3: Paper Warping from Humidity
Dye-sublimation photo paper is extremely sensitive to moisture. In humid environments (above 60% relative humidity), the paper absorbs water vapor and develops micro-curls at the edges. These curls create mechanical resistance during the reverse-feed pass, causing the printer motor to stall:
- Remove the paper stack from the tray.
- Inspect the edges for visible curling or waviness.
- If the paper is warped, discard those sheets and open a fresh, sealed pack.
- Store unused paper in its sealed foil bag or in a resealable plastic bag with a silica gel packet to absorb ambient moisture.
Cause 4: Firmware Timing Desync
If the above hardware checks are clean, the printer's internal motor timing may be out of calibration:
- Open the Kodak Photo Printer app on your smartphone.
- Connect to the printer via Bluetooth.
- Check for available firmware updates in the app settings.
- If an update is available, install it with the printer plugged into power and your phone within 2 feet of the device.
- After the update completes, perform a pinhole reset to clear the motor calibration cache, then try printing again.
Related Kodak Troubleshooting Guides
Understanding the 4PASS Printing Process on Kodak Mini 3 Retro
The Kodak Mini 3 Retro uses 4PASS Dye-Sublimation Technology . It prints photos through four sequential mechanical passes: Pass 1 lays down Yellow dye, Pass 2 lays down Magenta, Pass 3 lays down Cyan, and Pass 4 applies a protective laminated overcoat that seals the photo against fingerprints, water, and UV fading.
When the printer stops mid-cycle with a partially ejected photo or a stalled ribbon, the dye-sublimation transport mechanism has suffered a mechanical or thermal stall.
Step-by-Step Fix for Mid-Print Stalls
- Do Not Pull the Paper Out by Force:
When the printer stalls halfway with paper protruding from the slot, pulling the paper aggressively will snap the ultra-thin ink ribbon inside the cartridge or strip the plastic drive cogs. Always power down the unit and allow the internal stepper motor to release tension.
- Check Battery Charge Level:
The thermal printhead draws high instantaneous current during color transfer passes. If the internal lithium battery charge drops below 15%, the voltage sags below operating threshold mid-pass, causing the printer to shut down immediately.
Connect the printer to a certified 5V / 2.0A wall charger and allow it to charge to 100%.
- Inspect the 4PASS All-in-One Cartridge:
- Open the side cartridge access door.
- Gently pull out the rectangular 4PASS cartridge.
- Examine the colored film ribbon. If the ribbon is sagging, loose, or crinkled, use your finger or a coin to turn the exposed cartridge gear clockwise to take up the ribbon slack.
- Reinsert the cartridge until it clicks firmly into place.
- Pin-Hole Reset and Firmware Update:
Press the pin-hole reset button next to the USB port with a paperclip for 5 seconds. Open the Kodak Photo Printer app on your phone, connect via Bluetooth, go to Settings > Firmware, and install any available firmware updates to optimize stepper motor timing.
Frequently Asked Questions
What should I do if the ribbon torn and stuck to the photo?
If the ribbon film melted onto the photo, gently peel the paper away after the printhead cools. Cut away the torn section of ribbon with scissors, tape the clean ends together with small piece of transparent tape, and wind the gear clockwise until the tape is wrapped safely onto the take-up spool.
Why does the printer eject a blank white sheet before printing?
The Mini 3 Retro feeds the photo sheet forward and backward to align the leading edge before the first yellow pass begins. This initial travel is normal calibration.
