


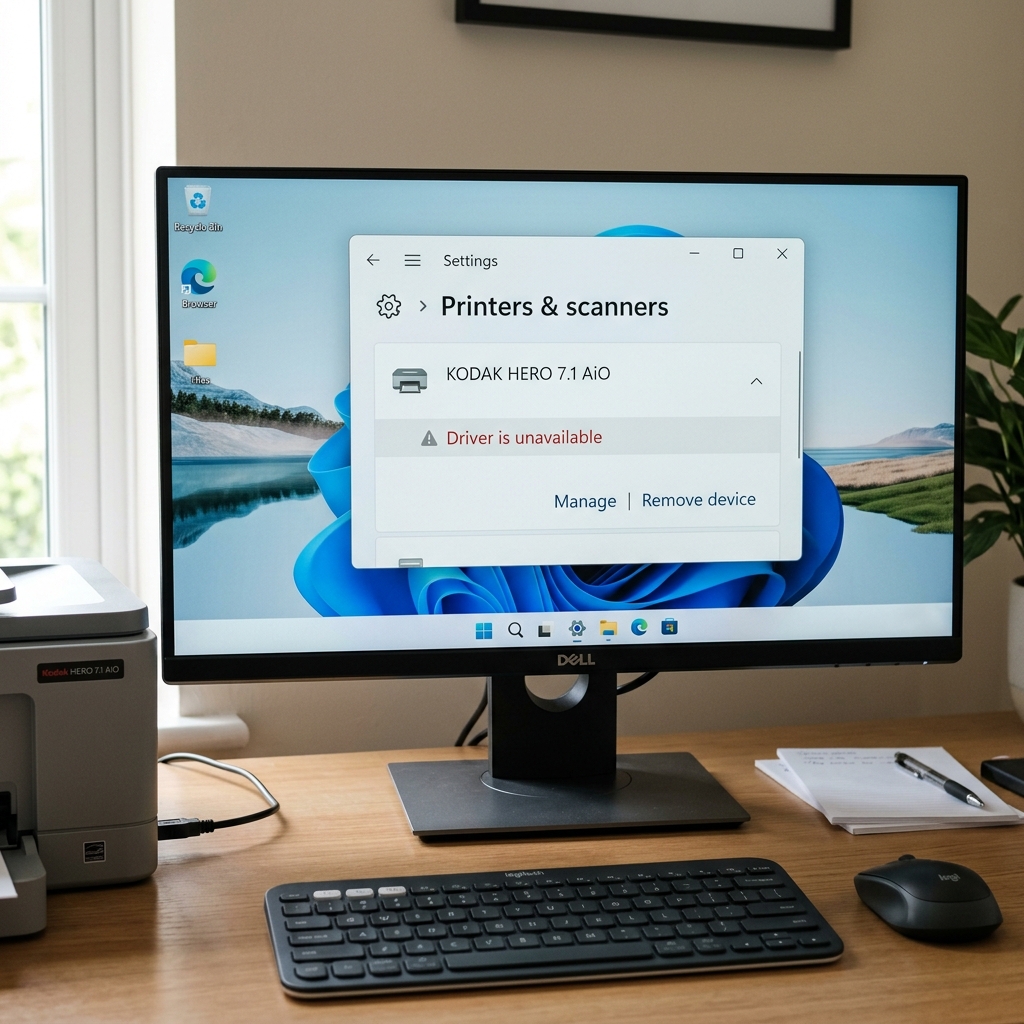
When Windows 10 or Windows 11 displays a "Driver Unavailable" status for a Kodak ESP . Hero printer, it means the operating system was unable to find a compatible driver within the online Windows Update database.Because Kodak officially exited the printer market in 2012, no modern drivers have been signed .
Submitted to Microsoft for recent Windows builds.To get the printer working, you must manually download, extract, . Inject the legacy driver packages into the Windows print subsystem.
The Legacy Software Dilemma
Official Kodak installation packages (like the old KODAK Home Center software) often fail during installation on Windows 10 and 11, crashing with compatibility errors. This happens because the installer packages try to register background services that are blocked by modern Windows security.
To bypass this, we must avoid the installer entirely and perform a manual INF file driver injection.
Step 1: Extract the Driver Cabinet Files
Instead of running the installer executable, we will unpack it to access the raw driver files.
- Download the archived Kodak All-in-One Printer Software setup file (often named aiobps_v12.exe or similar from trusted archive mirrors).
- Download and install 7-Zipng>7-Zip (a free, open-source file compression tool).
- Locate the downloaded Kodak setup file, right-click it, select 7-Zip, and click Extract to '[Folder Name]'.
- Open the newly created folder. Inside, you will see several folders and files, including a driver subfolder (often containing files ending in .inf, .sys, and .cat). This is the driver core.
Step 2: Manual Driver Injection via Device Manager
With the files unpacked, we can instruct Windows to read the hardware definitions directly:
- Connect your Kodak printer to your PC using a USB cable. Turn the printer on.
- Right-click the Start button and select Device Manager.
- Look for your printer. It will likely be under "Other Devices" or "Printers" listed with a yellow warning icon, named KODAK ESP [Model] or KODAK Hero [Model].
- Right-click the yellow-flagged device and select Update driver.
- On the next screen, click Browse my computer for drivers.
- Do not search the default path. Click Browse... and select the folder where you extracted the setup file in Step 1. Ensure the checkbox for 'Include subfolders' is checked. Click Next.
- Windows will scan the folder, locate the matching '.inf' driver file (which lists all Kodak hardware IDs), and install the driver directly.
Step 3: Alternative Manual Printer Addition
If Device Manager fails to find the device, you can add it through the legacy Control Panel:
- Open the Start menu, type Control Panel, and select it.
- Click Devices and Printers (or view by Small Icons and select it).
- Click Add a printer at the top.
- Click The printer that I want isn't listed at the bottom of the discovery window.
- Select Add a local printer or network printer with manual settings and click Next.
- For USB, select USB001 (Virtual printer port for USB). For network, select the TCP/IP port created for your printer. Click Next.
- On the Manufacturer/Printers screen, click Have Disk....
- Click Browseg>Browse..., navigate to your extracted folder, locate the driver folder, and select the first file ending in '.inf' (often named ekcaps.inf or ekpxd.inf). Click Open, then click OK.
- Select your exact Kodak model from the newly populated list. Click Next to finish the installation.
Step 4: Registry Port Monitor Fix (Advanced)
If you get an error saying 'The printer driver is not compatible with a policy enabled on your computer,' you must temporarily disable driver isolation settings via registry:
- Press Windows Key + R, type regedit, and press Enter.
- Navigate to: HKEY_LOCAL_MACHINE\SYSTEM\CurrentControlSet\Control\Print.
- Look for a DWORD named DisablePrinterDriverIsolation. If it exists, double-click it and set the value to 1. If not, right-click, select New > DWORD (32-bit) Value, name it DisablePrinterDriverIsolation, and set it to 1.
- Restart your computer and try Step 3 again.
Related Kodak Troubleshooting Guides
Why Windows 10 & 11 Report "Driver is Unavailable" for Kodak Printers
When Windows displays the "Driver is unavailable" error under Printers &. Scanners, it signifies that Windows detected the hardware plug-and-play ID over USB or Wi-Fi, but the Windows Update driver repository lacks a certified signed driver package for your specific legacy Kodak model.
Complete 4-Step Driver Restoration Protocol
- Install the Official Kodak Driver in Windows 7 Compatibility Mode:
- Download the final release of the Kodak All-in-One Software suite (v8.3).
- Right-click the downloaded setup file > Properties > Compatibility.
- Check "Run this program in compatibility mode for Windows 7".
- Check "Run as administrator". Click Apply and execute the installer.
- Manually Select the Microsoft Generic WIA/IPP Class Driver:
- Open Control Panel > Devices and Printers > Add Printer.
- Click "The printer that I want isn't listed".
- Select "Add a local printer or network printer with manual settings".
- Choose the USB001 virtual printer port or your TCP/IP port.
- Under Manufacturer, select Generic, and under Printers, select Generic / Text Only or Microsoft IPP Class Driver.
- Clear Corrupted Driver Packages from Print Management:
Press Windows Key + R, type
printmanagement.msc, and press Enter. Under Custom Filters > All Drivers, right-click any ghosted or corrupted Kodak driver packages and select Remove Driver Package.
Frequently Asked Questions
Does Kodak still update drivers for new Windows 11 updates?
Official software updates ended when Kodak restructured its consumer printing division. However, existing drivers run reliably on Windows 11 using Compatibility Mode settings.
Can I print using third-party software like VueScan?
Yes. For scanning, the popular third-party utility VueScan contains built-in reverse-engineered reverse drivers for almost all Kodak ESP and HERO all-in-one scanners without needing any Kodak drivers installed.
