


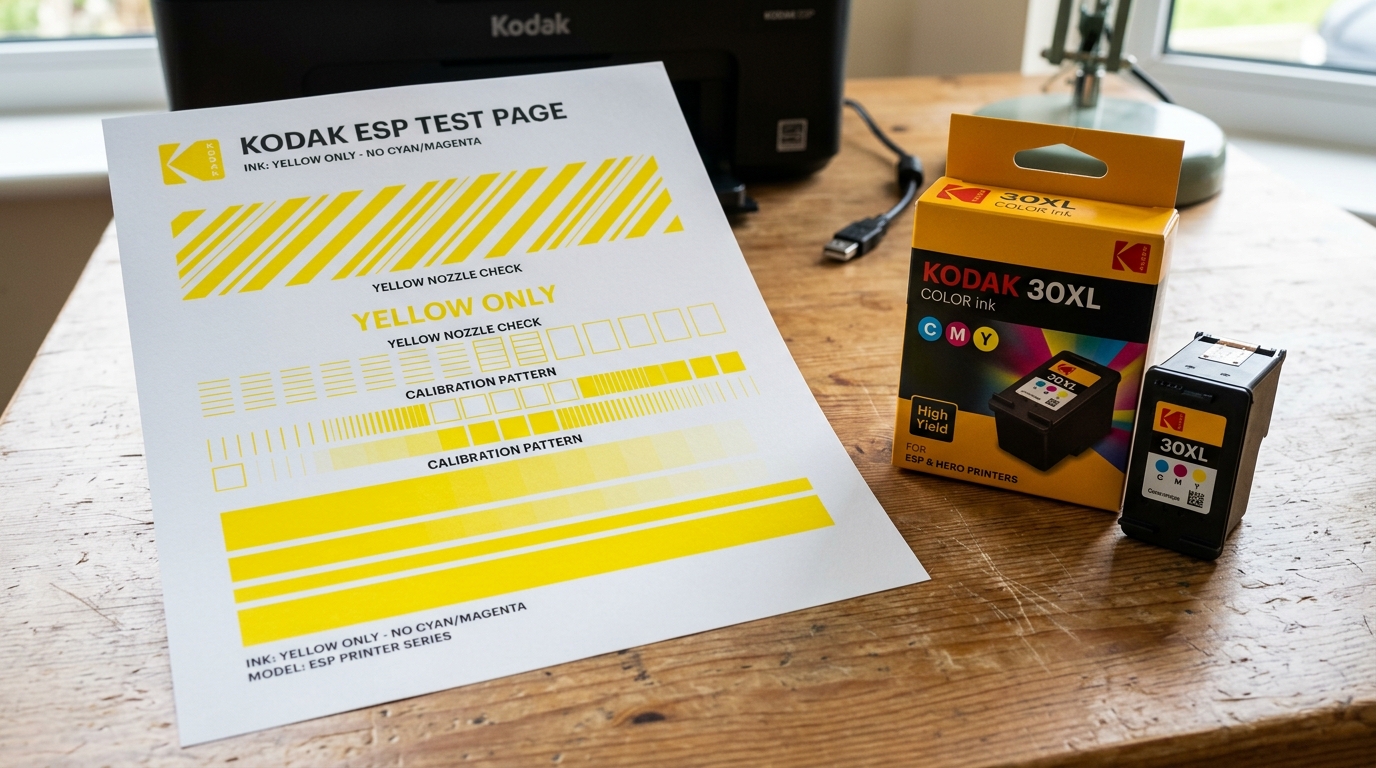
A printer that outputs pages with incorrect colors — such as printing only in shades of yellow, or producing muddy green output where cyan should be — is experiencing **color ink contamination**. On Kodak ESP and Hero printers, this occurs when liquid ink from one cartridge channel migrates into another channel.
This happens inside the printhead assembly or at the maintenance parking station. It is a physical ink-flow issue, not a driver bug or low ink problem.
Let's walk through how to isolate, clean, and resolve color contamination.
How Color Contamination Occurs
The Kodak printhead block has separate intake ports for black, cyan, magenta, and yellow ink. These ports are sealed against the bottom of the cartridges by small rubber gaskets. Ink migration can occur in two primary locations:
- The Parking Station (Cap Pad): When the printer is idle, the printhead carriage sits on a rubber cup pad (the parking station) to prevent the nozzles from drying out. If this pad becomes saturated with waste ink, the different colors pool together. The printhead then sucks this mixed ink back up into the nozzles via capillary action.
- Printhead Gasket Leaks: If the rubber gaskets on the printhead intake ports are dislodged or damaged, ink from one cartridge will leak sideways into the neighboring chamber.
Phase 1: Clean the Maintenance Parking Station
If pooled waste ink is causing the contamination, cleaning the parking station is required to prevent re-contamination after cleaning cycles.
- Turn the printer on and open the access cover.
- Wait for the printhead carriage to move to the center, then **unplug the power cord** to keep it locked in the center.
- Look at the far right side of the printer cavity. Locate the small rubber parking cap assembly (a rectangular black rubber frame surrounding a felt pad).
- Slightly dampen a microfiber cloth with warm distilled water.
- Gently wipe the rubber seals and the internal felt pad. Press down lightly to absorb any pooled, liquid waste ink. Ensure the rubber borders are clean and free of dried ink crust.
- Allow the parking station toror-codes-alerts/canon-printer-error-6a00-cartridge-jam-fix" title="Fix Canon Error 6A00 (Cartridge & Purge Unit Jam)">parking station to dry.
Phase 2: Purge the Printhead Nozzles
Once the parking station is clean, you must clear the contaminated ink that is trapped inside the printhead chambers:
- Reconnect the power cord and turn the printer on.
- Load standard paper into the tray.
- On the printer control panel, navigate to **Maintenance > Clean Printhead** and press OK.
- The cleaning cycle will pump-problems/how-to-clean-kodak-printhead-clogged" title="Clogged Kodak Printhead? How to Clean & Flush It Safely">cleaning cycle will pump a small amount of ink through the nozzles to clear obstructions.
- After the cycle completes, print a **Nozzle Test Page**.
- If the colors look improved but are still slightly muddy, perform a second cleaning cycle. **Do not run more than 3 cycles consecutively**, as this pumps excessive ink into the waste pads, increasing the pool. If 3 cycles fail to clear it, proceed to Phase 3.
Phase 3: Inspect Printhead Gaskets
If the ink continues to bleed immediately after purging, the internal printhead gaskets are likely failing to seal:
| Inspection Target | Pass Condition | Fail Condition (Leak Cause) |
|---|---|---|
| Rubber Port Gaskets | Seals are soft, round, and seated flush around the intake mesh. | Gaskets are flattened, cracked, or dislodged from their slots. |
| Cartridge Outlets | Felt ink pads are clean and flat. | Cartridge outlet is leaking excessive liquid ink. |
| Printhead Bottom | Nozzle plate is clean with no liquid pools. | Excessive ink pooling across the entire metal face. |
Gasket Cleaning and Alignment:
- Remove the ink cartridges.
- Release the carriage latch /error-codes-alerts/kodak-printer-error-code-105-3513" title="Kodak Printer Error Code 105-3513: Reseat & Fix Printhead">carriage latch and lift the printhead block out of the printer.
- Examine the circular rubber gaskets surrounding the ink intake mesh screens.
- If a gasket is dislodged, use a clean plastic tool (like a toothpick) to gently push it back into its circular seat.
- Wipe the area with a dry, lint-free cloth to remove any ink pools that have bridged the gaps between the ports.
- Reinstall the printhead, snap it in firmly, reinsert the cartridges, and run a final cleaning cycle.
Phase 4: Print a Solid Color Purge Sheet
If the nozzle test page is mostly clear but the colors still look slightly faded, you can force the printer to draw ink through the specific contaminated channel by printing a full page of that solid color:
- On your computer, open a word processor or image editor.
- Create a full-page rectangle. Fill it with **solid Cyan** (if cyan was mixing with yellow) or **solid Magenta**.
- Print this page on plain paper using "Normal" or "Draft" quality.
- This forces the printer to feed ink continuously through that single color channel, quickly flushing out any residual yellow ink that was drawn up into the nozzle chamber.
