


The Quick Answer
A self test is the single most useful diagnostic step for any Bixolon printer issue. Learn how to run it, what it shows, and how to read the results.
A self test is the single most useful diagnostic step for any Bixolon printer issue. It's the first thing referenced across nearly every troubleshooting guide on this site for a reason: it tells you, in about 10 seconds, whether your printer's hardware is working at all — completely independent of your computer, cables, network, or POS software.
If the self test prints cleanly, you know the printer itself is fine. Any issue you're having is on the connection or software side.
If it fails, you've just confirmed the problem is physical. This guide covers how to run it, what it actually shows, and how to read the results.
What a Self Test Actually Does
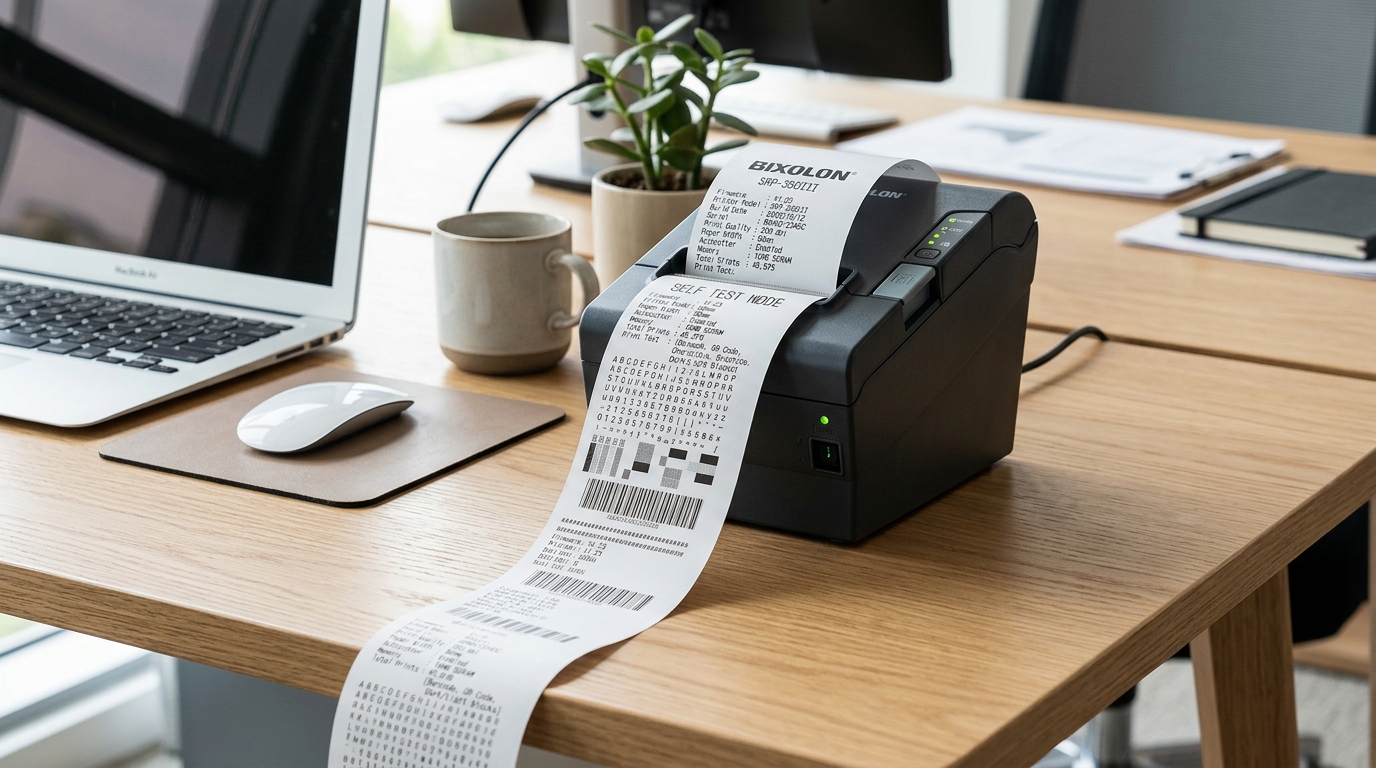
Unlike a normal print job, a self test is generated entirely from the printer's own internal memory — no computer, cable, or network connection is involved at any point. The printer prints a page showing its own settings: firmware (internal software) version, current settings (like baud rate or paper width).
A visible sample of print quality.
Because nothing outside the printer is involved, a successful self test rules out almost every external cause of a problem in one step.
How to Run a Self Test (General Method)
The standard method across most Bixolon receipt and POS printers works like this:
- Make sure paper is loaded. The printer needs paper in the tray to actually produce the test page — without it, you may just get an error light instead of a printed result.
- Power off the printer completely.
- Press and hold the feed button (the button you'd normally press to advance paper manually).
- While still holding the feed button, power the printer back on.
- Continue holding the feed button for a few seconds after power-on until the printer begins printing.
- Release the button ce the test page starts printing.
This sequence is consistent across the majority of Bixolon's SRP-series receipt printers. That said, the exact hold duration and whether the button is pressed before or after power-on can vary slightly by model.
If this doesn't trigger a test print on the first try, check your specific model's quick-start guide — it's almost always illustrated on the very first page.
Running a Self Test on Label Printers (XD/XL Series)
Bixolon's label printers work a little differently, since they print on label stock and ribbon rather than receipt paper:
- Confirm both label stock and ribbon (if your model uses one) are loaded correctly.
- Most XD/XL models use a similar power-on button-hold sequence. The test output is a settings label rather than a receipt-style page.
- The test label typically shows sensor calibration values alongside firmware (internal software) and settings info — useful not just for confirming the printer works. For diagnosing media-sensing issues specifically.
Running a Self Test on Mobile Printers (SPP Series)
Battery-powered mobile printers generally follow the same core method — hold the feed button while powering on — but with two extra things to check first:
- Confirm the battery has enough charge; a critically low battery can prevent the self test from completing even if the printer powers on briefly.
- Make sure the paper compartment is fully closed. Latched, since mobile printers tend to be more sensitive to an improperly seated cover than countertop models.
How to Read the Self Test Results
Once you have a printed test page in hand, here's what to look for:
It Printed Cleanly
This confirms the print head, paper feed mechanism, and core hardware are functioning correctly. If you were troubleshooting a "won't print" or "won't connect" issue, this tells you the problem is entirely on the computer, cable, network, or software side — not the printer itself.
It Printed, But Looks Wrong
- Faded or very light text → check that paper is loaded thermal-side facing the print head, or that the print density setting (visible on the test page itself) hasn't been set too low.
- Streaky or partially missing characters → the print head likely needs cleaning. Power off, let it cool, and clean it with an isopropyl-alcohol cleaning pen or swab — never anything abrasive.
- Garbled or random characters → this is less common on a true self test, since it bypasses the driver entirely. If it happens, it usually points to a deeper firmware (internal software)-level fault rather than a settings issue.
Nothing Printed at All
- Check that paper is actually loaded. The cover is fully latched — an open-cover or paper-out condition will block the self test the same way it blocks a normal print job.
- Check the error LED. If it's actively blinking, resolve whatever that pattern indicates first, then retry the self test.
- If the cover is closed, paper is loaded. It still won't trigger, double-check the exact button sequence for your specific model — a mistimed button press is a common reason the test simply doesn't start.
Why the Self Test Is the Best First Troubleshooting Step
It's worth using this as your starting point for almost any Bixolon printer issue, rather than jumping straight to reinstalling drivers or checking cables:
- It isolates hardware from software in a single step.
- It takes about 10 seconds and requires nothing but the printer itself.
- It often reveals the actual setting (like baud rate, paper width, or firmware (internal software) version) that's causing a separate settings mismatch with your POS software.
If you're working through a broader troubleshooting flow, this is exactly why it appears as an early step in our full Bixolon printer troubleshooting guide — confirming the hardware first saves time on every step that follows.
What the Test Page Tells You Beyond "It Works"
Beyond a simple pass/fail, the printed page itself usually lists:
- Firmware (internal software) version — useful when checking whether your printer supports a specific SDK feature or needs an update for a newer POS integration.
- Communication settings — baud rate, parity. Similar serial settings on models that use serial connections, which matter if you're manually configuring a connection rather than using plug-and-play USB.
- Paper width/sensor settings — particularly useful on label printers, where a mismatch here can look like a printing problem but is actually a settings issue.
It's worth keeping a copy of this page (or a photo of it) on file for each printer, especially in a multi-printer business setup — it makes future support calls faster since you'll already have the firmware (internal software) version. Settings on hand.
Frequently Asked Questions
Do I need any special tools or software to run a self test? No — it's triggered entirely through a button sequence on the printer itself, with no computer, cable, or software involved.
Why won't my printer's self test trigger no matter what I try? Check for an open cover or paper-out condition first, since these block the self test exactly like they'd block a normal print job. If those are fine, double-check the exact button-hold sequence for your specific model.
Can a self test damage my printer? No — it's a standard, built-in diagnostic feature designed to be run safely as often as needed.
If my self test passes, does that mean my printer definitely isn't the problem? Essentially, yes. A clean self test confirms the core hardware — print head, feed mechanism, paper sensors — is working, which means any remaining issue is on the connection or software side.
Quick Steps Recap
- Load paper (and ribbon, for label printers)
- Power off completely
- Hold the feed button
- Power on while still holding the button
- Keep holding for a few seconds until printing starts
- Release once the test page begins
A self test takes seconds to run. Answers the single most important troubleshooting question — is this the printer, or is this something around it? Make it your first step whenever a Bixolon printer isn't behaving the way it should.
