


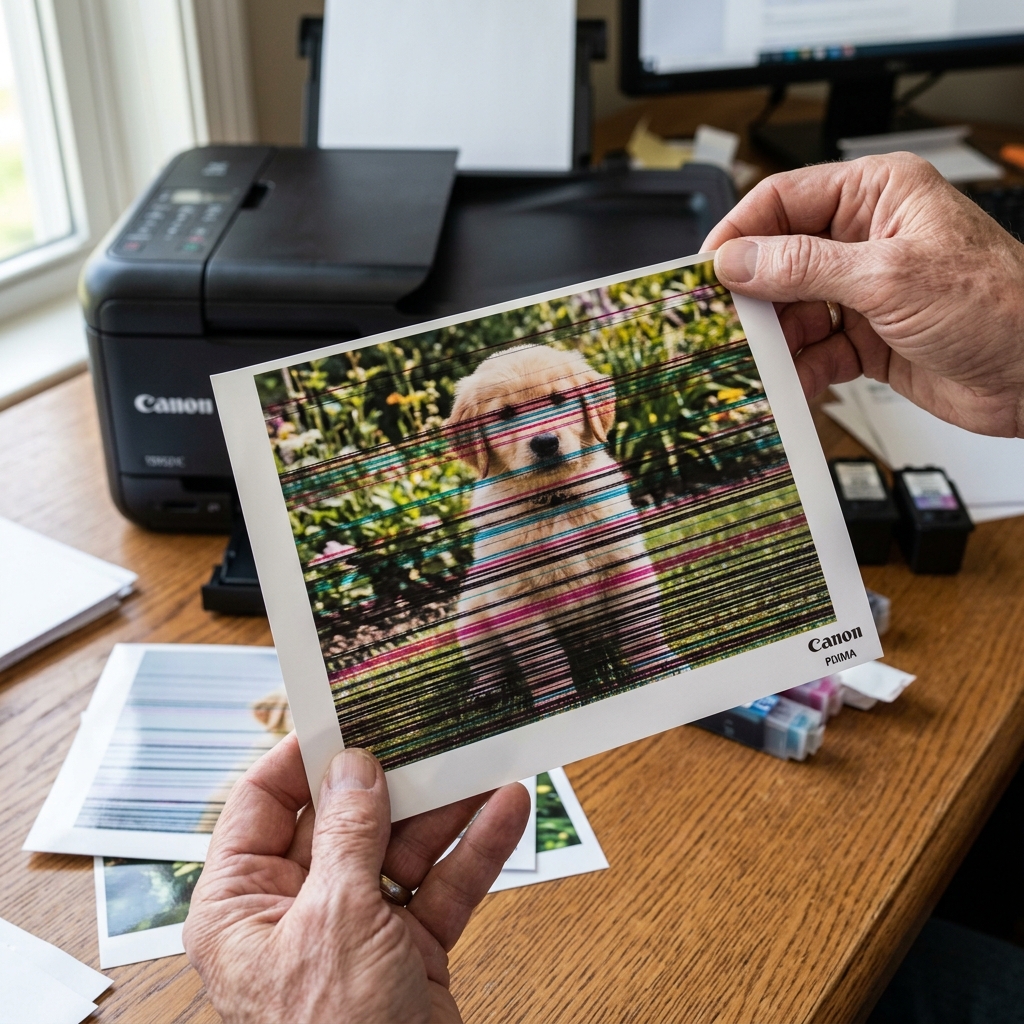
Why Do Horizontal White Lines Appear?
Inkjet printers build an image by moving the printhead left and right across the page, laying down horizontal bands of microscopic ink dots. If a specific section of the printhead is clogged, it fails to lay down ink during that pass, leaving a perfectly straight, horizontal white line (or a lighter streak) across the paper.
This is known in the industry as banding .
Fix 1: The Deep Cleaning Cycle
Your first line of defense is the printer's built-in maintenance routines. The printer has a small vacuum pump that can physically suck dried ink out of the nozzles.
- Navigate to the Maintenance or Setup menu on your printer's LCD screen (or via the Canon IJ Printer Utility on your computer).
- First, select Print Nozzle Check Pattern. Look at the grid. If any horizontal lines in the grid are broken or missing, you have a clog.
- Select Cleaning . It takes about 2 minutes. Print another nozzle check.
- If the grid is still broken, select Deep Cleaning. Warning: Deep Cleaning consumes approximately 5 to 10 times more ink than a standard cleaning. Only run it if a standard cleaning fails.
If you run two Deep Cleanings and the streaks persist, do not run a third. Turn the printer off and let it sit for 24 hours. The fresh ink pulled into the printhead needs time to dissolve the hardened clogs.
Fix 2: Changing Your Print Settings
If your nozzle check is absolutely perfect, but your photos still have horizontal banding, your hardware is fine—your software settings are wrong.
When you set your printer to "Plain Paper" and "Standard Quality," the printhead moves across the page as fast as possible to save time. This fast movement often leaves microscopic gaps between passes.
When printing photos or high-quality graphics, always open the Print Dialog box on your computer. Change the Media Type to Glossy Photo Paper (even if you are using premium matte) and change the Print Quality to High or Best.
This forces the printhead to slow down and overlap its passes, completely eliminating horizontal banding.
Fix 3: Cleaning the Encoder Strip
If the streaks are not perfectly white, but rather look like blurry, jagged, or misaligned vertical blocks along a horizontal path, the printer has lost its positional tracking.
Look behind the ink carriage rail for a clear plastic ribbon (the encoder strip). If it is smeared with grease or ink, the optical sensor gets confused. Wipe it gently with a dry microfiber cloth from left to right to restore crisp, streak-free printing.
Understanding Horizontal Streaks and White Lines in Canon Prints
Horizontal white lines spaced at regular intervals across printed text and photos (often called Horizontal Banding) occur when individual microscopic ink nozzles fail to fire as the printhead carriage sweeps across the page. This is caused by dried ink clogs, air pockets in the printhead manifold, or bidirectional alignment drift.
Complete 4-Step Banding Elimination Protocol
- Execute Automated Printhead Cleaning & Nozzle Verification:
Navigate to Maintenance > Cleaning. Print a Nozzle Check Pattern. If you see broken grid lines or white streaks running through the color bars, run a second Cleaning cycle. Allow the printer to sit idle for 15 minutes between cleanings to let fresh ink dissolve the dried blockage.
- Perform Precision Printhead Alignment:
- Load fresh, bright white paper in the tray.
- Select Maintenance > Print Head Alignment (Automatic or Manual).
- On Automatic models, the printer prints a multi-column pattern and scans it via the flatbed.
- On Manual models, examine each numbered column (A through K) and enter the number of the box with the smoothest, least streaky pattern. This synchronizes left-to-right and right-to-left dot placement.
- Clean the Linear Optical Encoder Strip:
If horizontal lines appear irregular, wavy, or jagged, grease on the clear plastic encoder strip behind the carriage is causing the carriage to jitter mid-pass. Clean the clear strip gently with a microfiber cloth dampened with warm distilled water.
- Change Paper Quality Settings to "High":
In Windows Print Preferences, change Print Quality from "Standard" to "High". High quality mode slows carriage velocity and prints in overlapping multipass patterns, which masks minor nozzle clogs.
Frequently Asked Questions
What is the difference between horizontal and vertical streaks?
Horizontal streaks (in the direction of carriage travel) indicate clogged nozzles or alignment drift. Vertical streaks (in the direction of paper feed) indicate dirty paper feed rollers, scratched drum surfaces, or ink buildup on the star wheels.
Can low ink levels cause streaky horizontal lines?
Yes. When ink drops below 10%, air bubbles enter the printhead manifold, resulting in intermittent ink starvation during wide print sweeps.
