


The Quick Answer
When the Epson EcoTank ET-4760 drops off Wi-Fi or shows an offline error, the issue is typically caused by router band steering on mesh networks or an active Ethernet cable disabling the wireless card. The most effective fix is running the Wi-Fi Setup Wizard via the 2.4-inch color touchscreen and reserving a permanent static IP address in your router.
Epson ET-4760 Control Panel: Touchscreen Setup Protocol
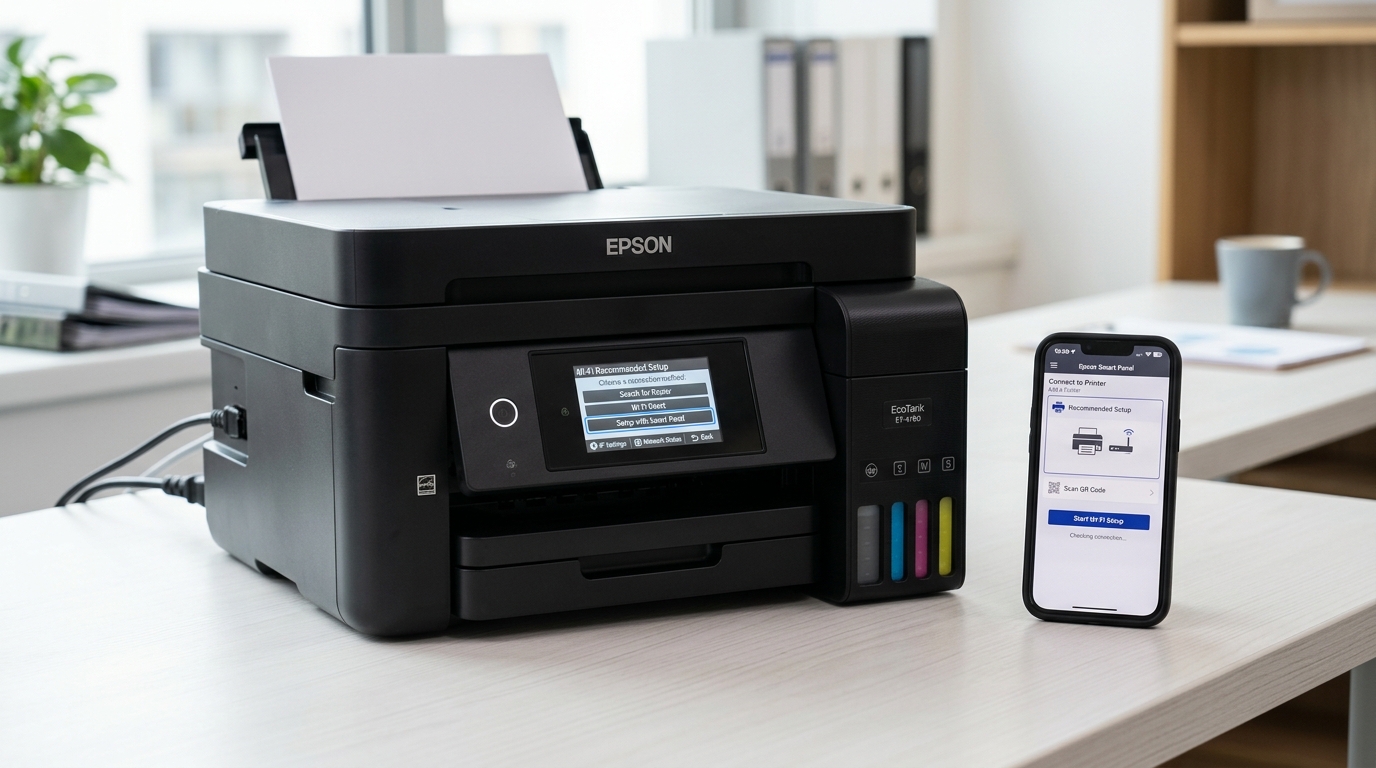
Unlike lower-tier EcoTank models that rely on physical button keypads, the ET-4760 features a full 2.4-inch color touchscreen interface. Follow these exact touchscreen steps to establish a clean wireless connection:
- Power on the ET-4760 and ensure no Ethernet cable is plugged into the rear network port.
- From the Home screen, tap the Network / Wi-Fi icon located at the top-right corner of the LCD panel.
- Select Router, then tap Start Setup (or Change Settings if previously configured).
- Select Wi-Fi Setup Wizard. The printer will scan and display local wireless networks.
- Tap the name of your 2.4 GHz wireless network (SSID). If your network is hidden, tap Enter Manually.
- Tap the password entry field. A virtual QWERTY keyboard will appear on the touchscreen. Enter your network passphrase carefully, using the shift and symbol keys as needed.
- Tap OK to submit. The printer will display "Connecting..." followed by "Setup Complete".
Printing the ET-4760 Network Status Sheet
To verify that the ET-4760 has acquired a valid IPv4 address and to check your signal strength, print the official diagnostic report directly from the touchscreen:
- Load letter-size plain paper into the lower paper cassette.
- Tap Settings on the home screen.
- Select Network Settings, then tap Print Status Sheet.
- Tap Print. Review the printed report: verify that the Wireless section shows "Connected" with signal strength rated at "Good" or "Excellent", and note the assigned IPv4 address.
Wi-Fi Band Requirements: 2.4 GHz vs Dual-Band Routers
The internal network transceiver on the ET-4760 operates strictly on the 2.4 GHz 802.11b/g/n wireless spectrum. It cannot detect or connect to 5 GHz networks. Modern mesh routers that use combined SSIDs with automated band steering can force the printer offline when attempting to migrate it to 5 GHz.
To prevent connection drops, log into your router administrative console and split the frequencies into separate SSIDs (for example, HomeNet_2.4G and HomeNet_5G), or bind the printer's MAC address exclusively to the 2.4 GHz band.
Configuring a Static IP via Web Config (EWS)
Dynamic IP leases cause Windows and macOS print queues to lose track of the ET-4760 whenever the printer enters sleep mode.
- Open a web browser on your computer and navigate to
http://[printer-ip-address]. - Log into Web Config using the administrator password (the printer serial number printed on the back label).
- Navigate to Network Settings > Basic (or TCP/IP).
- Change the IP Address Setting from Auto to Manual.
- Enter a fixed IP address outside your router's temporary DHCP lease range, along with your Subnet Mask and Default Gateway.
- Save and reboot the printer to lock in the network address.
Restoring Factory Network Defaults
If the ET-4760 fails to negotiate with your router after configuration changes, reset the network settings completely:
- Tap Settings > Restore Default Settings.
- Tap Network Settings.
- Confirm the prompt by tapping Yes. The printer will wipe all stored SSIDs and security keys, allowing you to run a fresh setup wizard.
For general maintenance procedures or if print nozzles dry out after reconnecting, check our guide on Epson power cleaning vs head cleaning, or review steps to resolve an Epson printer blinking red light error.