


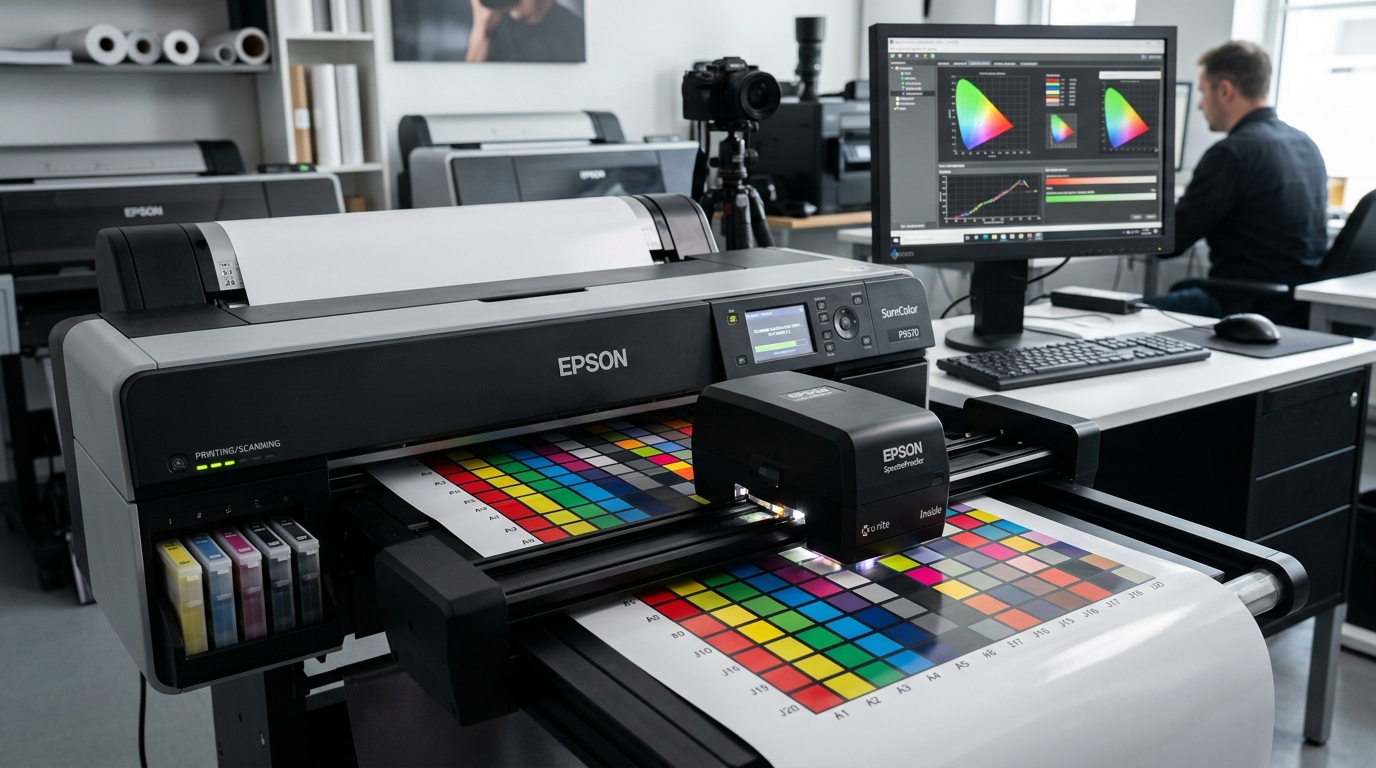
The Foundation of Accurate Proofing and Photography
Epson SureColor pro photo printers (such as the P700, P900, P7570, and P9570) are engineered to reproduce 99% of the Pantone Formula Guide solid coated palette. However, uncalibrated print pipelines produce unpredictable color shifts.
Achieving museum-grade color fidelity requires calibrating the printer base state, installing custom ICC paper profiles, and eliminating operating system double-profiling.
Step 1: Calibrate the Base Engine with Epson Color Calibration Utility
Before building or assigning ICC profiles, calibrate the physical print engine density:
- Download Epson Color Calibration Utility: Install the official utility from the Epson professional imaging support site.
- Connect via USB or Ethernet: Connect the printer directly to your workstation over a dedicated cable.
- Select your target media: Choose your primary media type (e.g., Epson Traditional Photo Paper or Premium Luster).
- Print the density calibration chart: The utility prints a multi-patch density target across all color channels.
- Scan or measure target: Use the internal sensor or supported spectrophotometer to read patches and write base curves to printer memory.
Step 2: Using the Inline SpectroProofer (Commercial Models)
Commercial models like the SureColor P7570 and P9570 support an inline X-Rite ILS30 spectrophotometer:
- Warm up the SpectroProofer: Power on the system 30 minutes prior to calibration to allow optical sensors to stabilize.
- Load certified proofing media: Feed commercial proofing roll stock with known white point characteristics.
- Initiate automated verification: Run an automated media calibration job through your RIP software (Epson Edge Print, EFI, or Onyx).
- Review Delta-E tolerances: Ensure average Delta-E across all color patches remains below 1.5 for contract-grade proofing.
Step 3: Configure Photoshop and Lightroom Color Settings
Color shifts almost always stem from competing color management engines between application and print driver:
- Open Print Settings in Photoshop: Go to File > Print.
- Set Photoshop Manages Colors: Under Color Management, select Photoshop Manages Colors.
- Select accurate Printer Profile: Pick the exact ICC profile matching your specific paper and resolution combination.
- Set Rendering Intent: Select Relative Colorimetric with Black Point Compensation for graphics, or Perceptual for photographs.
- Disable driver color management: In the OS print dialog, ensure Color Matching is set to Off (No Color Adjustment) to avoid double-profiling.
Step 4: Maintain Calibration Consistency
Environmental fluctuations alter droplet absorption rates and paper white points:
- Control ambient climate: Maintain printing room temperature between 68°F–75°F (20°C–24°C) with 40%–60% relative humidity.
- Recalibrate after ink batch shifts: Recalibrate density whenever switching to new manufacturing lot numbers of ink or paper rolls.
- Allow prints to outgas: Let fine art prints cure flat for at least 24 hours before assessing color accuracy under standard D50 lighting.
Frequently Asked Questions
What is double-profiling and how do I prevent it?
Double-profiling occurs when both Photoshop and the printer driver apply color corrections, producing dull, muddy prints with severe magenta casts.
What is the difference between Perceptual and Relative Colorimetric intents?
Perceptual scales out-of-gamut colors proportionally to preserve tonal relationships, while Relative Colorimetric maps out-of-gamut shades to the closest border tone.
How often should I run color calibration on a SureColor printer?
Calibrate base density once every six months, or whenever changing media batches and printhead components.
