


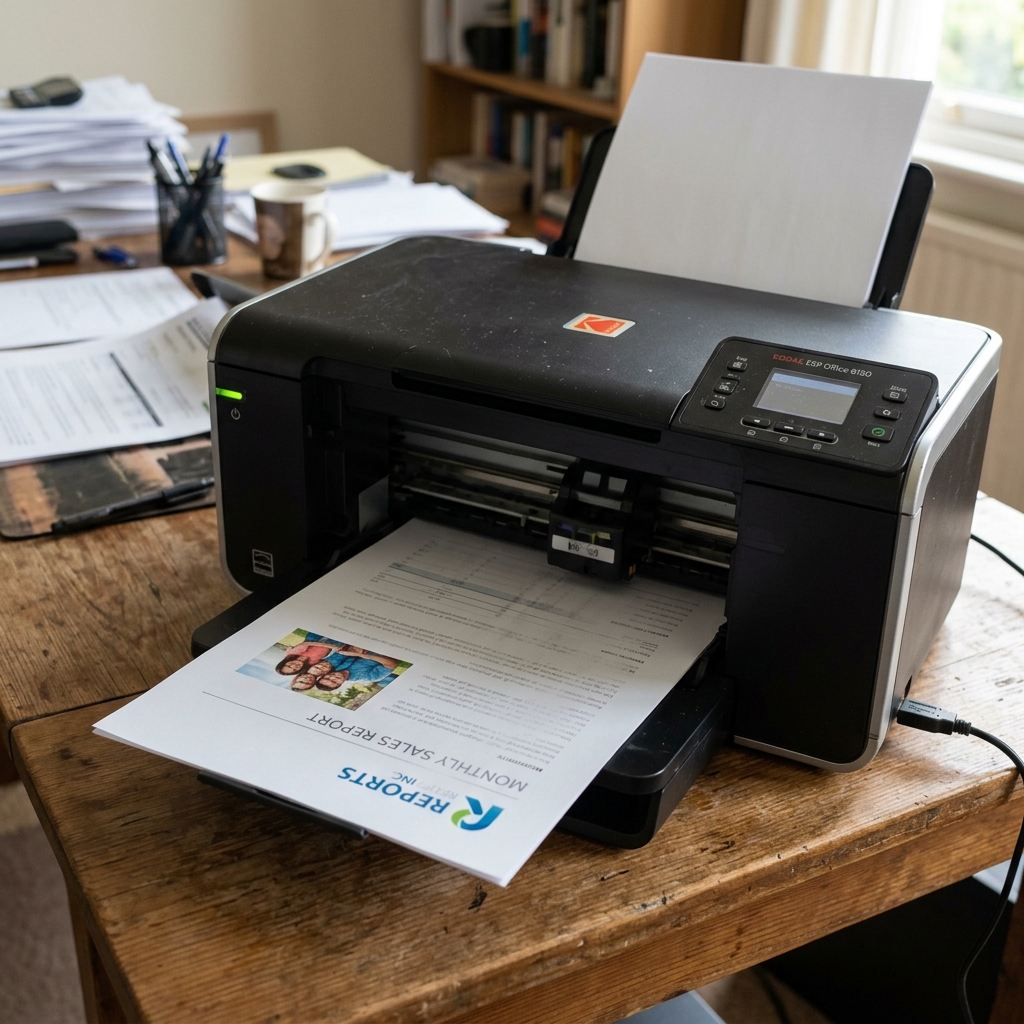
One of the most common complaints from Kodak ESP and Hero printer owners is that the printer suddenly stops printing black ink. Color images and graphics may print correctly, but any text or black elements appear as blank white areas on the page.
In the majority of cases, this is not an electrical failure or a driver issue — it is a physical blockage inside the black ink nozzle channel of the printhead. Let's walk through the full diagnostic and repair sequence.
Why Black Ink Fails First
Black pigment ink has a fundamentally different chemical composition than color dye inks. While cyan, magenta, and yellow inks are dye-based (fully dissolved in liquid), black ink on Kodak printers is pigment-based — meaning the colorant consists of microscopic solid particles suspended in a carrier fluid.
When the printer sits idle for extended periods, the carrier fluid evaporates through the nozzle openings, leaving behind a dense residue of dried pigment particles that physically plug the nozzle orifices. Color dye inks, being true solutions, resist this drying effect much longer.
Phase 1: Run Multiple Software Cleaning Cycles
Before any manual intervention, use the printer's built-in cleaning function to pump fresh ink through the nozzles:
- On the printer control panel, navigate to Maintenance or Settings > Printhead Maintenance.
- Select Clean Printhead and press OK.
- The printer will draw ink through the nozzles and deposit it onto the waste ink pad.
- After the cycle completes, print a Nozzle Test Pattern (usually available under the same Maintenance menu).
- Examine the test pattern: if the black bars are missing or show gaps, run a second cleaning cycle.
- Do not run more than 3 consecutive cycles. Each cycle consumes ink and floods the waste pad. If 3 cycles fail, proceed to manual cleaning.
Phase 2: Inspect the Cartridge Air Vent
Every inkjet cartridge has a tiny air vent hole that allows atmospheric pressure to push ink down toward the printhead. If this vent is blocked, the ink cannot flow:
- Remove the black ink cartridgeak/ink-toner-issues/kodak-printer-ink-cartridge-not-recognized" title="Kodak Ink Cartridge Not Recognized: How to Clean & Bypass">ink cartridge from the printer.
- Look at the top surface of the cartridge body. Locate the small circular vent hole (approximately 1mm in diameter).
- Verify that all protective tape has been completely removed. New cartridges ship with orange or yellow pull-tabs — even a thin strip of residual adhesive over the vent can create a vacuum lock.
- If the vent appears clear, use a straight pin to gently probe the opening. Dried ink can form a skin over the vent interior. Do not push the pin deep into the cartridge — a light poke at the surface is sufficient to break the dried film.
- Reinstall the cartridge and run a test print.
Phase 3: Manual Printhead Priming (Warm Water Dab)
If cleaning cycles and vent checks fail, the dried pigment plug inside the nozzle channel is too thick for the printer's suction pump to clear. You can dissolve it manually:
- Remove both the black and color cartridges from the printer.
- Lift the printhead latch and carefully remove the printhead assembly from the carriage.
- Fold a paper towel into a small pad. Dampen it with warm distilled water (not tap water, which contains minerals that can deposit on the nozzle plate).
- Place the printhead nozzle->nozzle-side down onto the damp paper towel.
- Let it sit for 10 to 15 minutes. The warm water will slowly dissolve the dried pigment through capillary action.
- Lift the printhead and inspect the paper towel — you should see black ink stains where the pigment has dissolved and wicked through.
- Gently dab (do not rub) the nozzle plate with a clean, dry lint-free cloth.
- Reinstall the printhead and cartridges, and run a cleaning cycle followed by a test print.
Phase 4: Verify Cartridge Authenticity
Third-party and remanufactured cartridges are a frequent cause of black ink failure on Kodak printers:
| Cartridge Type | Common Black Ink Issues |
|---|---|
| Genuine Kodak (Series 10/30) | Rare nozzle clogs after extended idle periods. Standard cleaning cycles resolve most cases. |
| Third-Party Compatible | Ink viscosity may differ from Kodak specs, causing rapid drying or air bubbles in the nozzle chamber. Chip firmware may cause "Not Recognized" errors. |
| Refilled/Remanufactured | Ink formulations may not match pigment density requirements, causing faded or missing black output even when the cartridge reports full ink levels. |
