


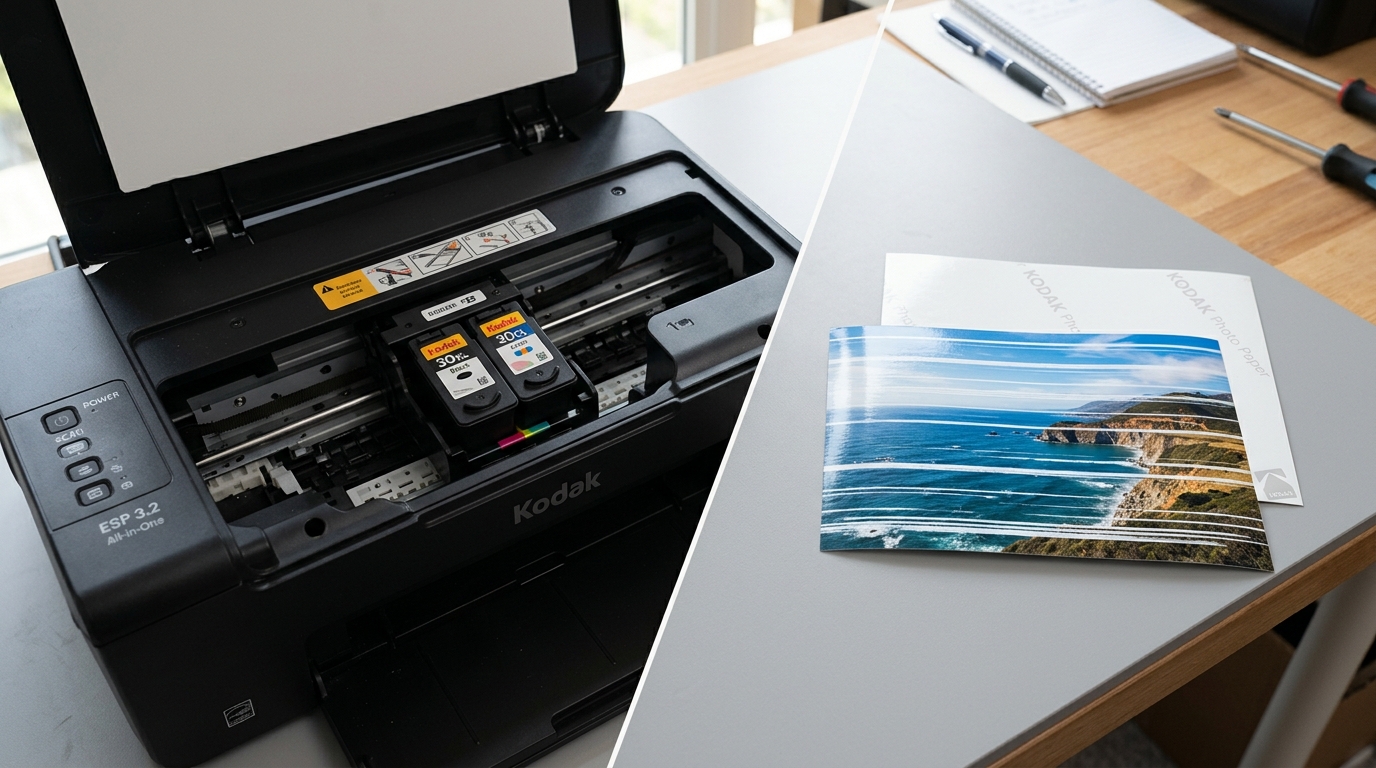
Kodak portable printers (using either 4PASS dye-sublimation cartridges or ZINK zero-ink thermal sheets) produce beautiful, smudge-resistant photos. However, because they are designed for portable use, they are prone to capturing lint and dust.
When dust particles settle on the internal **thermal printhead strip** or the cartridge spools lose tension, your printed photos will show **horizontal white lines**, **vertical color streaks**. Or **missing color bands**.
Let's walk through how to clean and calibrate the thermal print path.
The Difference Between 4PASS and ZINK Line Faults
To target your troubleshooting, identify the type of line print issue you are experiencing:
- Horizontal White Lines (4PASS): A continuous white line running across the short edge of the photo. This indicates a speck of dust is blocking a specific thermal pixel on the printhead. Preventing it from heating the wax ribbon at that point.
- Vertical Color Streaks (4PASS): A solid cyan, magenta, or yellow line running the long edge. This indicates a scratch on the cartridge ribbon film or a wrinkled ribbon panel.
- Faded Color Banding (ZINK): Horizontal bands of color mismatch. This is caused by dirty optical sensors failing to read the blue calibration sheet barcode correctly, resulting in wrong heat profiles.
Step 1: Clean the Thermal Printhead Strip
The thermal printhead contains a high-density line of tiny heating resistors. To clean this strip safely:
- Power off the printer and remove the ink cartridge (for 4PASS) or the paper stack (for ZINK).
- Locate the printhead: Look inside the upper ceiling of the cartridge compartment. You will see a long, thin, copper-colored metallic strip (approx. 2 inches long). **Do not touch it with your bare fingers**, as skin oils can cause hot-spots that burn out the resistors.
- Dampen a cotton swab with **99% Isopropyl Alcohol**. (Do not use 70% rubbing alcohol, as the remaining water content can short the heating elements).
- Gently wipe the swab along the copper strip from left to right. **Do not use scrubbing pressure** or metal tools, as scratches on the protective glass coating are permanent.
- Allow the alcohol to evaporate completely (approx. 3 minutes) before reassembling.
Step 2: Tighten and Adjust the Cartridge Spools
Loose ribbon spools cause the film to wrinkle as it passes over the printhead, creating vertical color lines:
- Remove the cartridge from the printer.
- Locate the round gears on the side of the cartridge body.
- Using your thumb or a flat tool, turn the spools **counter-clockwise** to wind the spools until the ribbon film is tight and flat against the cartridge frame.
- If the ribbon is damaged or shows deep scratches. Discard the cartridge and replace it, as these film defects will repeat on every print pass.
Step 3: Run the ZINK Cleaning/Calibration Sheet
If you are using a ZINK-based model (like the Kodak Step or Kodak Smile) and see faded color banding:
- Locate the blue **ZINK Smart Sheet** (calibration sheet) that came in your photo paper pack. It has a barcode on the bottom side.
- Load the blue sheet into the paper compartment with the **barcode facing down** (and the glossy blue side facing up).
- Send a print job. The printer will feed the blue sheet out first, cleaning the optical reader lens and updating the thermal alignment profiles.
- Follow this immediately by printing a photo to verify color correction.
Step 4: Clean the Exit Gate and Roller Shaft
Sometimes, dust gathers on the exit rollers, dragging across the freshly laminated photo print and leaving fine scratch marks:
- Open the paper exit slot cover.
- Use a clean, dry microfiber cloth to wipe the rubber rollers and the plastic exit gate.
- Ensure no paper fragments or lint are caught in the exit path.
Related Kodak Troubleshooting Guides
Why Horizontal and Vertical Lines Ruin Kodak Photo Prints
When printing high-resolution photos on Kodak glossy or matte paper, visible horizontal white streaks, dark lines. Or fine color banding ruin image quality.
Horizontal white lines indicate clogged printhead nozzles that are failing to deposit ink during carriage sweeps. Dark horizontal bands indicate paper feed roller slippage or incorrect media thickness settings.
Vertical scratches indicate mechanical drag across the drying ink.
Exhaustive Photo Print Quality Restoration Guide
- Execute Multiple Printhead Cleaning Cycles with Nozzle Checks:
- On the control panel, go to Maintenance > Clean Printhead.
- After the cleaning cycle, print a Nozzle Diagnostic Pattern (Maintenance > Print Diagnostic Sheet).
- Examine the color grid. Every single horizontal and vertical grid line must be solid and continuous. If gaps exist in the yellow, magenta, cyan, or photo-black blocks, run a second cleaning cycle.
- Perform Precise Bidirectional Printhead Alignment:
Bidirectional misalignment causes adjacent dot rows to overlap (dark lines) or pull apart (white lines). Navigate to Maintenance > Align Printhead. Load fresh bright white paper and complete the automated scan-calibration routine.
- Configure Correct Driver Media Type Settings:
When printing from your computer, open Printer Preferences. In the Media Type dropdown, explicitly select "Kodak Premium Photo Paper" or "Glossy Photo Paper" rather than "Plain Paper". Selecting Photo Paper slows down the carriage travel speed, increases dot density. And optimizes the ink drying interval, eliminating feed banding.
- Clean the Star-Wheel Ejection Rollers (Fixing Vertical Scratches):
At the front paper exit slot sits a row of tiny spiky metal wheels (star wheels). If wet pigment ink has collected on these wheels.
They will track wet ink across the photo surface (often called "pizza wheel tracks"). Clean each star wheel gently using a cotton swab moistened with warm distilled water.
Frequently Asked Questions
Why do photo prints look grainy even after cleaning?
g.. 1200x1800 pixels for a 4x6 photo).
Which side of Kodak photo paper goes face-down in the tray?
In bottom-loading Kodak desktop trays (ESP/HERO), load photo paper with the high-gloss print side facing DOWN and the Kodak watermark logo facing UP.
