


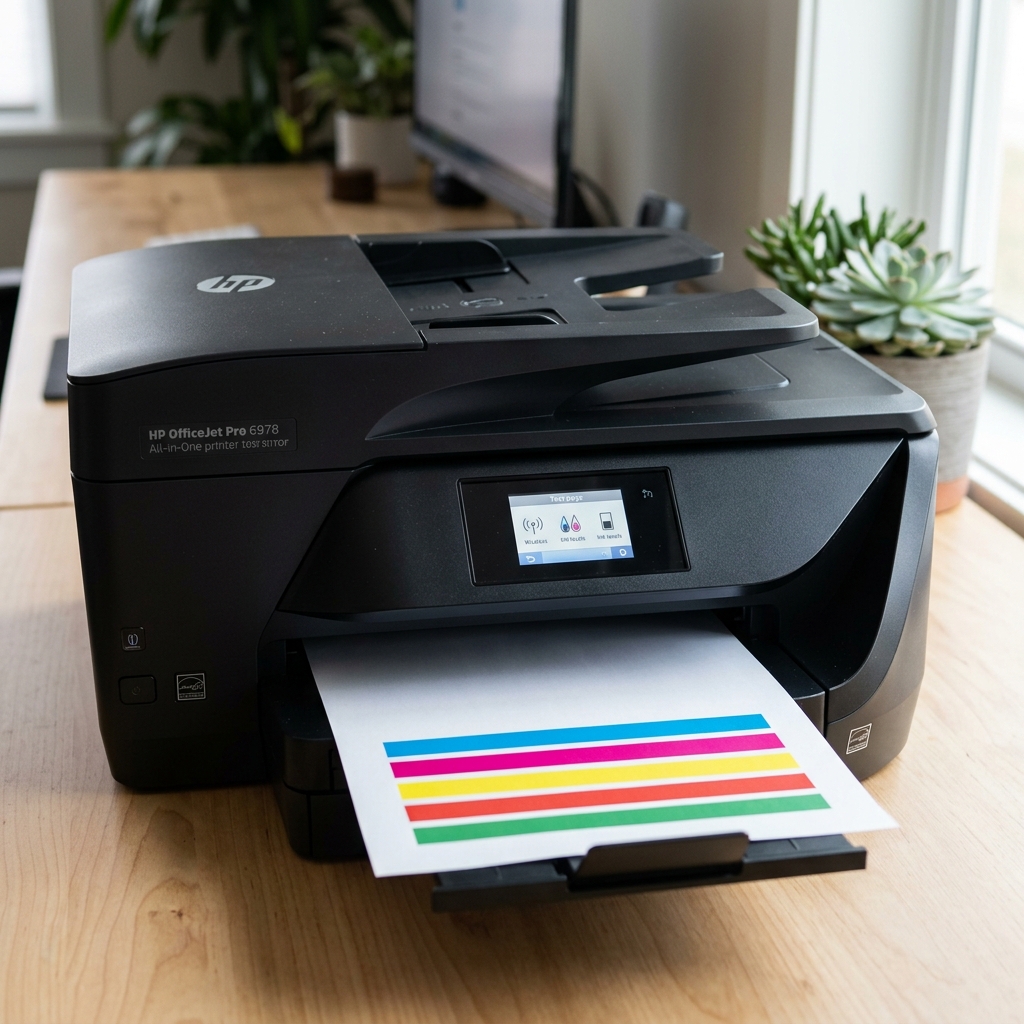
The Quick Answer
HP OfficeJet Pro 6978 not printing black even with new cartridges? A repair tech explains why, and the separate printhead most owners don't know exists.
New cartridge in, still no black. Another new cartridge, still nothing.
This is one of the most frustrating patterns I see in my shop, because it looks like it should be the easiest fix in printing — swap the empty cartridge for a full one — and yet it doesn't work. If your HP OfficeJet Pro 6978 is not printing black despite fresh cartridges, there's a very good reason your obvious fix isn't working, and it's a detail about this specific printer that most owners never learn until they're exactly where you are right now.
Let's go through the real causes in order, and I'll explain the one piece of hardware architecture that changes everything about how you should be troubleshooting this.
Quick-Fix Summary
Fast version:
- Reseat the cartridge properly — press until it clicks, don't just drop it in.
- Run the built-in cleaning cycle, and expect to run it more than once.
- Check for the black-and-white / grayscale setting trap in your print dialog.
- Rule out the printhead, not just the cartridge — my uncommon tip, and the key to this whole problem.
- Clean the printhead contacts by hand if the built-in cleaning cycle can't get through.
Fix 1: Reseat the Cartridge Properly
Open the cartridge access door and remove the black cartridge. Run your finger along the top of all installed cartridges — anything protruding above the others isn't fully seated. Press each one down firmly until you feel and hear it click into place.
Why this works: a cartridge sitting even slightly high loses reliable electrical contact with the printer, and a cartridge the printer can't properly communicate with might as well be empty as far as printing is concerned — regardless of how much ink is actually inside it.
Fix 2: Run the Cleaning Cycle More Than Once
From the printer's control panel or the HP Smart app, find the printer maintenance menu and run Clean Printhead (sometimes listed as a cartridge or nozzle cleaning cycle). Print a nozzle check or diagnostic page afterward to see if black improved.
If it's better but not perfect, run the cycle again — up to two or three times total is reasonable before moving on.
Why this works: dried ink can partially clog the microscopic nozzles that spray black ink onto the page, and the cleaning cycle works by forcing ink through those nozzles under pressure to clear the blockage. A single pass sometimes isn't enough for a stubborn clog, but running it excessively wastes ink for no added benefit — two or three attempts is the sensible ceiling.
Fix 3: Check for the Grayscale Trap
Open your print dialog and check the color settings — sometimes labeled "Print in Grayscale," "Color," or a quality/economy toggle. Make sure it's not accidentally set to a mode that's substituting a mixed-color blend for true black, or conversely, confirm you haven't left a setting that skips the black cartridge entirely in favor of a composite black made from color inks.
Why this works: some print drivers and applications default to using combined color ink to simulate black in certain modes, which produces a muddy, weak black rather than true black — and if your color cartridges are also low or clogged, that composite black can come out looking like "no black at all" even though the dedicated black cartridge was never actually used for the job.
Fix 4: Remember the Printhead Is Separate From the Cartridge (My Uncommon Tip)
Here's the fact that changes this entire troubleshooting process, and it's the one detail almost nobody explains clearly: on the OfficeJet Pro 6978, the printhead is a separate, replaceable component from the ink cartridges.
On simpler consumer inkjets, the spray nozzles are built directly into each ink cartridge — so a fresh cartridge means a fresh, unclogged nozzle every time. The 6978 doesn't work that way.
It has one fixed printhead assembly that stays in the printer permanently, with individual ink cartridges plugging into it. That printhead contains the actual spray nozzles, and it can clog or wear out independently of how new your cartridges are.
This is why the obvious fix — buy new cartridges — so often fails on this specific printer: you're replacing the ink supply while the actual print mechanism, the printhead itself, remains dirty or damaged underneath.
Customers arrive at my shop having bought three sets of black cartridges in a row, understandably convinced the printer is broken, when the real fault was a single component they never touched.
To address this directly: power off and unplug the printer. Open the cartridge access door and locate the printhead — it's the carriage assembly the cartridges plug into, not the cartridges themselves.
Carefully lift the small locking handle or latch (check your printer's manual for the exact release mechanism) and remove the printhead. Inspect the copper-colored contacts and the nozzle plate on its underside for dried ink buildup.
Why this works: once you understand the printhead is a distinct, separate part, "not printing black despite new cartridges" stops being a mystery — you were troubleshooting the ink supply while the actual print mechanism sat unaddressed.
Cartridges are consumables you're meant to replace often; the printhead is meant to last much longer and can be cleaned or, if necessary, replaced on its own.
Fix 5: Manually Clean the Printhead Contacts
With the printhead removed (from Fix 4), gently wipe the copper-colored contact points and the nozzle plate with a lint-free cloth lightly dampened with distilled water only — never tap water, never alcohol, never anything abrasive. Let it air dry completely, usually 10 to 15 minutes, before reinserting.
Why this works: dried ink residue on the electrical contacts can block the printer's communication with the printhead entirely, producing symptoms that look identical to a clogged nozzle even when the nozzles themselves are clear.
Distilled water dissolves dried ink without leaving mineral deposits behind the way tap water can, and full drying time matters because reinserting a still-damp printhead risks new problems rather than solving the old one.
When to Call a Professional
If you've reseated cartridges, run multiple cleaning cycles, ruled out the grayscale trap, and manually cleaned the printhead contacts — and black still won't print, or the diagnostic nozzle check shows consistent gaps in the same spots every time — the printhead itself has likely failed and needs replacement, which is a separate purchasable part from the ink cartridges on this model. Search for a genuine 6978-compatible replacement printhead before assuming you need a whole new printer;
it's a meaningfully cheaper fix.
If the printer is still under warranty, contact HP support first, since printhead failure is a documented and covered issue on this line.
FAQ
Why won't my HP OfficeJet Pro 6978 print black even with a brand new cartridge?
Because on this model, the printhead — the actual component with the spray nozzles — is separate from the ink cartridge. A new cartridge supplies fresh ink, but if the printhead itself is clogged or worn, black still won't print regardless of how new the cartridge is.
How do I know if the problem is the cartridge or the printhead?
If color prints fine but black won't, and the issue survives a fresh cartridge and a couple of cleaning cycles, suspect the printhead. Run a diagnostic nozzle check page — consistent gaps in the same location point to the printhead, not the cartridge.
Can I clean the printhead myself?
Yes. Power off, remove it following your printer's release mechanism, and gently wipe the contacts and nozzle plate with a lint-free cloth and distilled water only. Let it dry fully — at least 10 minutes — before reinstalling.
Is a replacement printhead expensive compared to a new printer?
Generally, no — a replacement printhead for this model costs meaningfully less than a comparable new printer, making it worth trying before you write the machine off entirely.
An HP OfficeJet Pro 6978 not printing black is rarely a cartridge problem in the end — it's a printhead problem wearing a cartridge disguise. Reseat, clean, check your settings, and once you understand that fixed printhead is a separate part from the ink you keep replacing, the fix stops being a mystery and starts being a straightforward repair.
Additional Resources
If you are still experiencing issues after trying the steps above, you may need to consult the official documentation or download the latest firmware for your specific printer model. We recommend checking the following official resources:
