


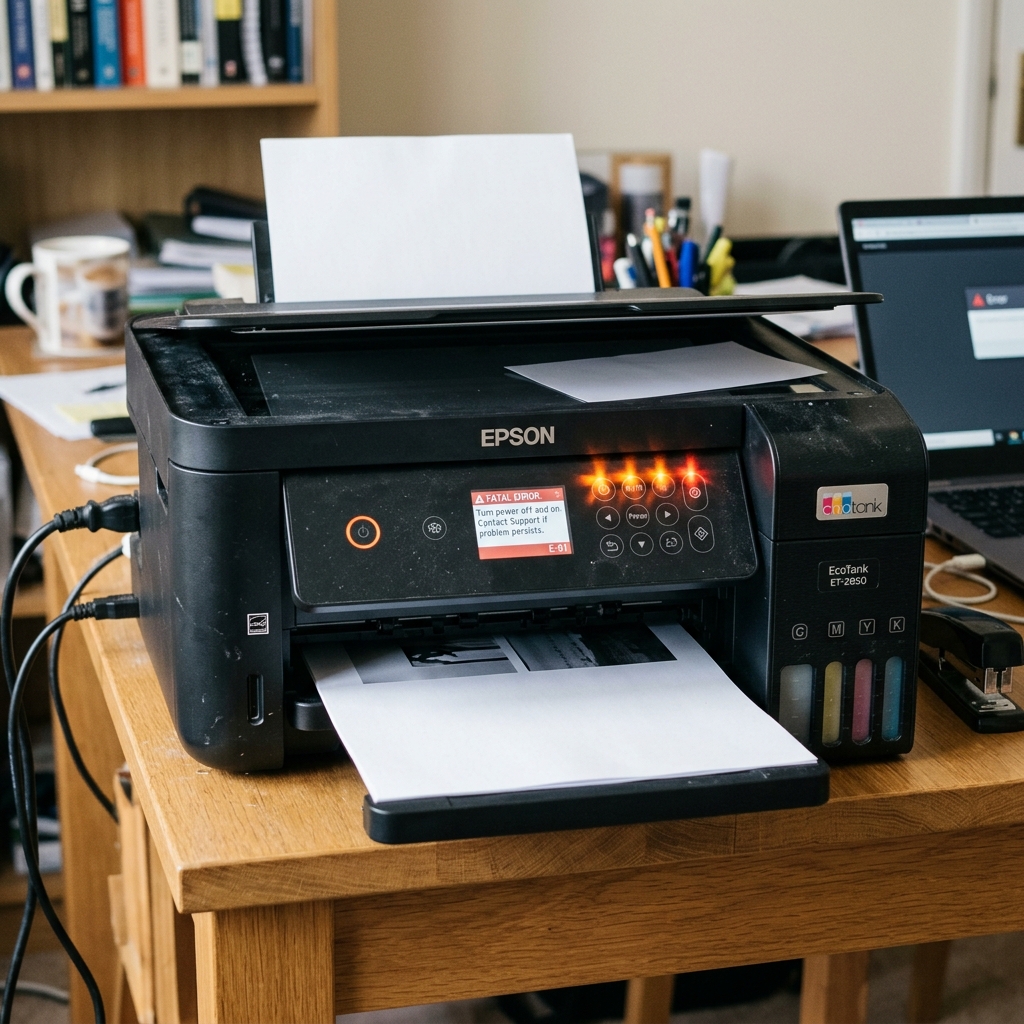
The "Christmas Tree" Error
There is perhaps no more stressful sight for an Epson owner than turning on the printer and immediately seeing every single LED on the control panel—Power, Wi-Fi, Ink, and Paper—flashing rapidly and aggressively at the same time. In the repair industry, this is known as the General Fatal Error.
Unlike alternating lights (which point to a waste ink pad issue), simultaneous rapid flashing means the motherboard has detected a critical mechanical or electronic failure that makes operation unsafe. The printer enters an emergency halt to prevent further damage to its motors.
Diagnostic 1: The Timing of the Flashing
The key to diagnosing a General Fatal Error is observing exactly when the lights start flashing after you press the power button.
Scenario A: The printer makes noise, moves the carriage, THEN flashes.
If you turn the printer on, hear the gears turn, see the printhead move left and right, and then the printer locks up with all lights flashing, you are dealing with a Carriage Impedance Error.
- The Cause: The printhead carriage bumped into something, or the optical sensor failed to read the encoder strip. The motherboard thinks the carriage is jammed.
- The Fix: Unplug the printer. Take a flashlight and look deep into the far-right parking station. Look for crumpled paper, a staple, or a dislodged piece of plastic. Next, inspect the clear plastic encoder strip running behind the printhead. If it is popped off its spring hook or smeared with grease, the printer goes blind and crashes. Reattach or wipe it down with isopropyl alcohol.
Scenario B: The lights flash INSTANTLY upon pressing power.
If you press power and the lights immediately begin flashing with absolutely zero mechanical noise or gear movement, you are dealing with a Pre-Boot Electronic Failure.
- The Cause: During the first millisecond of bootup, the motherboard checks for continuity across all its major components. If the scanner cable is disconnected, the mainboard F1 fuse is blown, or the printhead is catastrophically shorted, the boot process halts instantly.
- The Fix: Open the side panel of the printer and check the flat white ribbon cable connecting the scanner unit to the motherboard. If it was tugged loose during a paper jam removal, reseating it will fix the printer instantly. If the cable is fine, your motherboard has likely suffered a short circuit (similar to an 0x97 error) and the printer is effectively dead.
Diagnostic 2: The Scanner Assembly Check
Epson all-in-one printers will completely refuse to print if the scanner unit on top fails. The printer requires a successful self-test of the scanner bulb before it will unlock the printhead.
When you turn the printer on, lift the scanner lid and watch the glass bed. You should see the scanner bar light up briefly and move a millimeter to find its "home" position.
If the scanner bar does not light up, or if it grinds violently against the side of the glass, the scanner motor is dead. Because the scanner failed its boot check, the motherboard throws the General Error (all lights flashing).
You cannot bypass this to use the printer just as a printer.
Is it the Waste Ink Pad?
Many users confuse this error with the Waste Ink Pad error. To be absolutely clear: If all lights flash AT THE SAME TIME, it is a hardware fault.
If the Ink and Paper lights flash ALTERNATELY (one, then the other, back and forth), it is the Waste Ink Pad software lock. Do not pay for a WIC Reset key if your lights are flashing simultaneously; a software reset cannot fix a hardware failure.
Understanding the "All Lights Blinking at Once" Fatal Error on Epson Printers
When every LED indicator on your Epson printer (Power, Wi-Fi, Paper, Ink) flashes simultaneously in a rapid, synchronized pulse, the printer's mainboard has triggered a Fatal System Exception / Emergency Engine Halt. The printer has shut down to protect high-voltage circuits, prevent motor driver burnout, or halt an unrecoverable mechanical collision.
Step-by-Step 4-Stage Fatal Error Recovery Protocol
- Stage 1: Complete 30-Minute Hardware Power Disconnect:
- Disconnect the power cord from the wall outlet and the rear of the printer.
- Press and hold the physical Power button for 30 seconds while unplugged.
- Leave the printer disconnected for at least 30 minutes to allow logic board cache registers and driver IC capacitors to fully discharge.
- Reconnect AC power directly to a wall socket (no surge protectors or extension cords).
- Stage 2: Check the Entire Carriage Path:
Open the top cover. Slide the printhead carriage gently by hand from far left to far right. Look for foreign objects, paper clips, torn paper scraps, or loose packaging materials lodged in the carriage rails.
- Stage 3: Clean the Linear Optical Encoder Timing Strip:
Behind the carriage is the thin, transparent plastic encoder strip. Aerosolized ink mist and carriage grease smudge this strip, blinding the optical reader. Gently wipe the strip with a microfiber cloth dampened with warm distilled water.
- Stage 4: Check the Waste Ink Pad Counter Status:
If the lights flash after power-on initialization, check whether the waste ink counter has reached 100% saturation. Use the free Epson Status Monitor utility on your PC to verify if "Parts inside your printer are at the end of their service life" is reported.
Frequently Asked Questions
What is the difference between simultaneous flashing and alternating flashing?
Simultaneous flashing (all lights pulsing together) indicates a fatal mechanical carriage stall or electrical fault. Alternating flashing (lights blinking back and forth like railroad crossing lights) indicates the Waste Ink Pad Counter is saturated.
Can a blown motherboard fuse cause all lights to flash?
Yes. If ink leaked into the printhead ribbon cable and shorted the +42V piezo rail, the mainboard F1/F2 fuse blows, causing the firmware to flash all lights on startup.
