


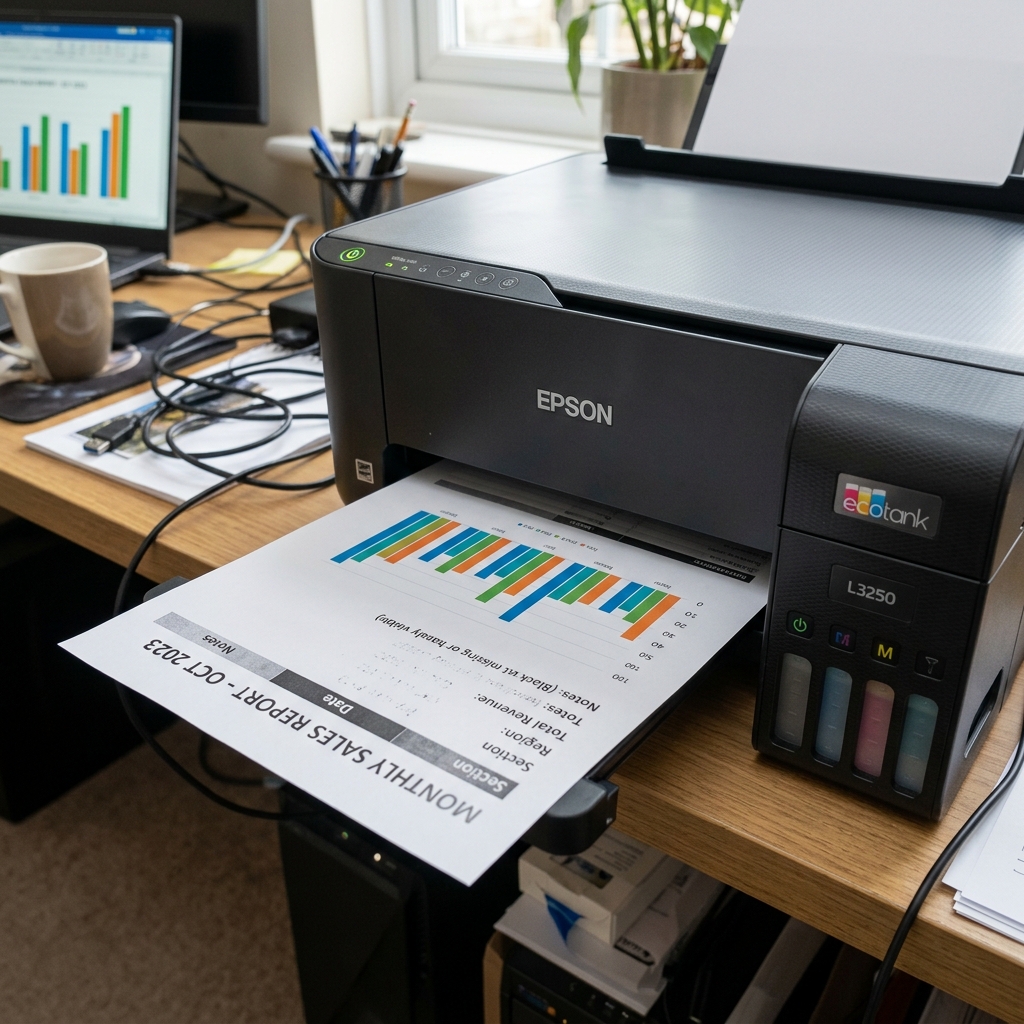
Why Only the Black Ink Fails
It is incredibly frustrating: your Epson EcoTank is full of ink, your color photos print gorgeously, but any Word document you try to print comes out completely blank. The printer goes through all the motions, makes all the right sounds, but no black ink hits the page.
This happens because Epson uses two entirely different types of ink in the same machine. Cyan, Magenta, and Yellow are usually Dye-based inks (they are water-soluble liquids).
The Black ink, however, is usually Pigment-based. Pigment ink is made of microscopic solid plastic particles suspended in liquid, designed to make text look crisp and waterproof.
Because it contains solids, pigment ink dries incredibly hard. If you don't print a black text document for a few weeks, the pigment particles settle, dry out, and form a cement-like plug in the microscopic printhead nozzles.
Fix 1: The Windex Soak (Dissolving the Pigment)
Standard head cleaning cycles use suction to pull ink through the nozzles. If the pigment has hardened into a plug, suction won't break it. You must chemically dissolve the plug. Ammonia-based glass cleaners (like Windex) are highly effective at breaking down Epson pigment ink.
- Unplug the printer and open the main lid.
- Manually slide the printhead carriage to the center of the rail.
- Look at the far right side of the printer where the carriage normally rests. You will see a small, rectangular sponge pad. This is the capping station.
- Take a syringe or a medicine dropper, and drip Windex directly onto that sponge until it forms a small puddle.
- Slide the printhead carriage back to the far right, parking it directly over the puddle of Windex.
- Leave the printer unplugged for at least 12 hours (overnight is best). The ammonia fumes will rise into the printhead nozzles and dissolve the hardened pigment.
- The next day, plug the printer in, run one standard Head Cleaning cycle, and print a nozzle check.
Fix 2: Manually Flushing the Black Channel
If the overnight soak didn't work, the clog is deep inside the channel. You must force cleaner through it manually.
- Purchase a printhead epson/print-quality-issues/epson-nozzle-check-failed-gaps-pattern" title="Epson Nozzle Check Failed: Fixing Gaps & Broken Lines">printhead cleaning kit online (it consists of a syringe, a piece of silicone tubing, and cleaning fluid).
- Unplug the printer and slide the carriage to the center.
- Remove the plastic cover the printhead carriage and unclip the Black ink damper (the small plastic cartridge the tube attaches to). Lift it out of the way.
- You will now see a small plastic spike sticking up from the printhead. This is the ink intake port for the black channel.
- Fold a piece of paper towel and slide it underneath the printhead carriage to catch the mess.
- Attach the silicone tube to the syringe, fill the syringe with 3ml of warm cleaning fluid or Windex, and slide the other end of the tube securely over the black ink intake port.
- Gently push the plunger down. You should feel slight resistance, followed by a steady flow. If it is completely bricked and you cannot push the plunger, do not force it. Let the fluid sit in the tube for 10 minutes to dissolve the top of the plug, then try again.
- Once the fluid goes through, reassemble the damper, run a Head Cleaning cycle to re-prime the black ink from the tank into the head, and print a test page.
Fix 3: Priming the Damper (Air in the Lines)
If there is no clog, your black ink line might simply be full of air. Look at the translucent silicone tube carrying the black ink from the tank to the printhead. If you see massive air gaps, the printhead is starving for ink.
To fix this, unclip the black damper from the printhead. Insert a blunt syringe tip into the bottom valve of the damper and pull the plunger back.
You will suck the air out of the tube and draw black ink from the tank into the damper. Once the damper is full of liquid, reseat it on the printhead.
Universal Deep Fixes for Missing Black Ink on All Epson EcoTank Models
Missing black ink is the single most common service inquiry on Epson EcoTank printers (ET-2720, ET-2760, ET-2800, ET-2850, ET-3760, ET-4760, L3110, L3210, L5190). Because pigment black ink dries into a hard lacquer-like crust when exposed to air, standard software cleanings often fail to penetrate stubborn clogs.
Exhaustive 4-Stage Black Nozzle Recovery Protocol
- The Warm Paper Towel Platen Soak (Capillary Dissolution):
- Fold a paper towel into a 1-inch wide strip.
- Moisten with warm distilled water or dedicated inkjet printhead cleaner.
- Unplug the printer mid-movement when the carriage slides to the center.
- Place the wet towel flat across the black plastic print platen.
- Manually slide the printhead carriage directly over the wet towel and leave it parked there for 2 hours. The warm moisture softens the hardened pigment plug.
- Manual Syringe Pressure Purge:
Attach silicone tubing to a plastic syringe filled with 2ml of warm cleaning solution. Fit the tube over the black printhead inlet post and gently pulse fluid through the nozzles onto an underlying paper towel.
- Execute One Power Cleaning Cycle:
After manual soaking, run one Power Cleaning (Settings > Maintenance > Power Cleaning) to flush fresh ink through the rejuvenated nozzles.
Frequently Asked Questions
How do I know if the printhead nozzles are burned out vs. clogged?
If soaking in warm cleaner and syringe flushing allows fluid to spray through in a clean curtain but the printer still prints blank pages, the piezoelectric crystals on the printhead die have failed electrically.
Why should I avoid running 10 head cleanings in a row?
Excessive consecutive cleanings overheat the printhead and introduce air bubbles into the ink manifold, worsening the clog.
