


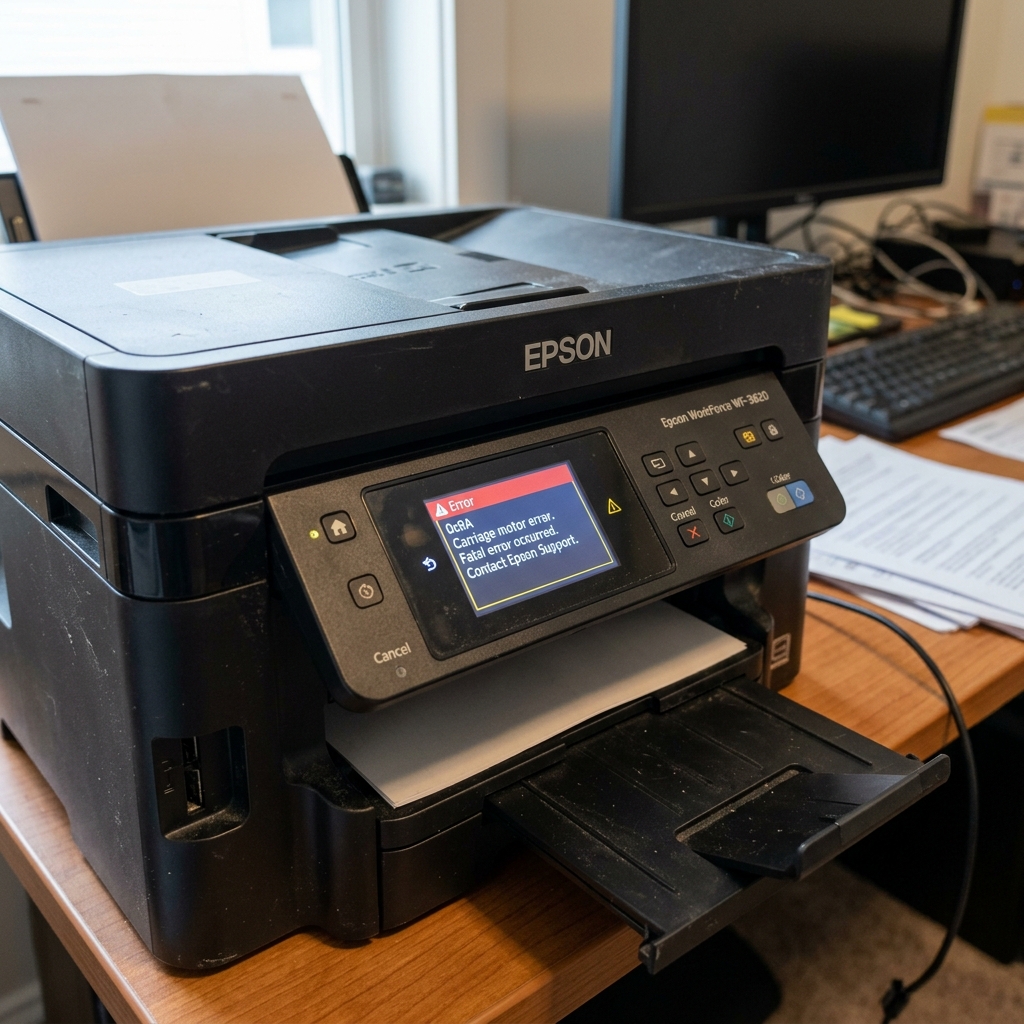
The Reality of Epson Error 0x9A
If your Epson printer has suddenly stopped dead in its tracks and displayed Error Code 0x9A, you are dealing with a severe hardware fault. Much like its cousin, the infamous 0x97 error, 0x9A is a fatal code.
However, where 0x97 almost always points to a blown mainboard and shorted printhead, 0x9A has a slightly broader diagnostic scope: it frequently involves the Carriage Motor and the printer's ability to track the printhead's physical location.
While standard support guides will tell you to turn the printer off and back on again, this rarely provides a permanent fix. This guide will walk you through the actual mechanical checks required to identify what failed inside your machine.
Diagnostic 1: The CR Scale (Encoder Strip)
Before assuming a motor or motherboard is fried, you must rule out the CR Scale (Carriage Return Scale, also known as the encoder strip). This is the thin, semi-transparent plastic strip that runs parallel to the metal rail the printhead slides on.
If this strip becomes heavily coated in aerosolized ink, paper dust, or gear grease, the optical sensor on the back of the printhead goes completely blind. When the printer commands the carriage motor to move, the sensor doesn't register the movement.
The motherboard assumes the motor is jammed or burned out, throwing error 0x9A.
- Unplug the printer from the wall.
- Lift the scanner bed to expose the printhead carriage.
- Locate the encoder strip just behind the carriage.
- Take a microfiber cloth, apply a single drop of glass cleaner or isopropyl alcohol, and gently wipe the strip from left to right.
- If the cloth comes away black with ink, wait 5 minutes for the strip to dry, then turn the printer on. If it was just a sensory blind spot, the error will clear.
Diagnostic 2: The Carriage Motor
If the encoder strip is clean, the next most likely culprit is the Carriage Motor. This is the small DC motor (usually located on the far left or right side of the chassis) that drives the rubber belt attached to the printhead.
Epson printers, especially older WorkForce models, are notorious for running these motors extremely hard during power cleaning cycles. Over time, the internal brushes wear out, or the motor simply overheats and burns out.
How to test the motor:
- The Heat Test: Turn the printer on, let it throw the 0x9A error, then immediately unplug it. Touch the metal casing of the carriage motor. If it is scorching hot to the touch, it is failing. It is drawing massive amounts of current trying to spin, overheating, and triggering the mainboard's safety cutoff.
- The Resistance Test: With the printer unplugged, manually push the printhead carriage left and right. It should move smoothly with slight, even resistance. If it feels extremely stiff, or if it grinds, the motor bearings or the gear assembly are seized.
The Fix: Carriage motors are relatively inexpensive (usually $15-$25 online). Replacing one involves unscrewing it from the chassis, detaching the rubber belt, and plugging the new motor's 2-pin harness into the motherboard.
Diagnostic 3: The Mainboard / Printhead Short
If the encoder strip is clean and the carriage motor is functioning properly, 0x9A can unfortunately act as a catch-all code for a motherboard failure.
Just like error 0x97, if liquid ink has leaked onto the printhead's ribbon cables, it will cause a short circuit. This short travels to the motherboard and blows the surface-mount fuses (F1 or F2) or the driving transistors.
When the motherboard attempts to send power to the carriage and fails, it triggers 0x9A.
If you have reached this stage, repairing the printer requires micro-soldering a new fuse onto the motherboard and replacing the printhead entirely. For most consumers, a 0x9A error that persists after cleaning the encoder strip and checking the motor means it is time to purchase a new printer.
Understanding Epson Error 0x9A (Carriage Motor Driver & Current Overload)
Error 0x9A is an emergency safety cutoff indicating that the mainboard's carriage motor driver IC detected excessive electrical current draw or abnormal mechanical drag on the printhead carriage during horizontal travel.
Step-by-Step Diagnostic & Clearing Guide
- Inspect Carriage Guide Rod Lubrication:
Wipe old, gritty grease off the silver steel carriage guide rod. Apply 2-3 drops of synthetic silicone lubricant across the rod to eliminate bushing drag.
- Clean the Linear Optical Encoder Strip:
Behind the carriage is the clear timing strip. Smudges cause the motor to accelerate and decelerate erratically, triggering over-current 0x9A alarms. Clean the strip with warm distilled water on a microfiber cloth.
- Check the Purge Unit Wiper Blade (Right Side):
Ensure the rubber wiper blade on the maintenance station is not stuck in the upright position, physically catching on the printhead casing.
- Perform a 30-Minute Power Drain Reset:
Unplug the AC power cord for 30 minutes to discharge the motor driver MOSFET transistors on the logic board.
Frequently Asked Questions
What is the difference between Error 0x9A and Error 0x97?
Error 0x9A is a mechanical carriage motor over-current fault. Error 0x97 is a high-voltage electronic printhead firing circuit short.
Can a paper jam cause Error 0x9A?
Yes. If the carriage collides with a jammed sheet of thick paper, the sudden motor stall triggers an instantaneous current spike that trips 0x9A.
