


The Quick Answer
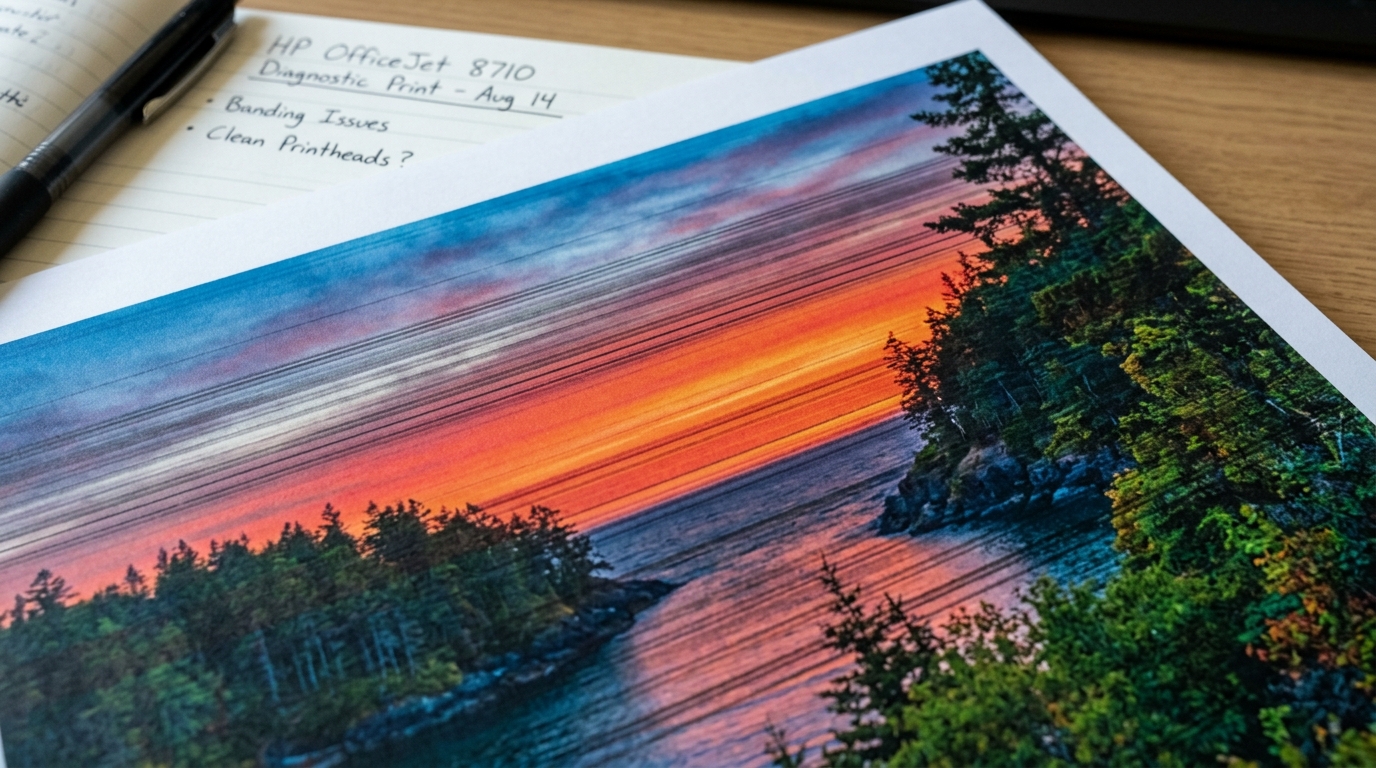
HP printer showing horizontal banding or stripes across prints? A repair tech explains the deeper cleaning levels most people never try.
Banding is a specific kind of print quality problem — evenly spaced horizontal lines or gaps running across the page, disrupting photos, gradients, and sometimes text — and it has a well-known primary cause. What most people don't know is that the standard fix for that cause has more depth to it than the single "Clean Printhead" button most owners ever click.Quick-Fix Summary
Fast version:
- Run a nozzle check to confirm you're dealing with a genuine clog.
- Switch off Draft or Eco print mode, since faster passes cause banding on their own.
- Run a deeper cleaning level, not just the basic one — my uncommon tip. And the fix most people never discover exists.
- Run printhead alignment after cleaning, never before.
- Check your media type setting matches what's actually loaded.
Fix 1: Run a Nozzle Check First
From the HP Smart app or your printer's maintenance menu, print a nozzle check or print quality diagnostic page. Look for gaps, missing sections, or inconsistent lines in the test pattern.
Why this works: this confirms whether you're dealing with a genuine clogged nozzle. The most common cause of banding by a wide margin — before you spend time on anything else. A clean, complete nozzle pattern points you toward other causes instead, like settings or media type.
Fix 2: Switch Off Draft or Eco Mode
Check your print quality setting and switch from Draft, Eco, or Fast mode to Normal or Best.
Why this works: faster print modes intentionally use less ink and make quicker passes across the page to save time and ink. And this speed-for-coverage tradeoff is a well-documented, direct cause of banding on its own, completely independent of any actual clog or hardware issue.
If banding only appears in Draft mode and disappears in Normal, you've found your entire answer.
Fix 3: Run a Deeper Cleaning Level (My Uncommon Tip)
Here's the fix that resolves banding cases the standard cleaning button leaves behind. And it's a genuinely underused feature because most people never learn it exists beyond the single default cleaning option they've always clicked.
Many HP printers offer more than one tier of cleaning cycle. Not just the single basic "Clean Printhead" button most owners are familiar with.
Beyond that first, lighter cleaning level, some models offer a Level 2 or Level 3 deep cleaning option, typically found in more advanced sections of the HP Smart app or the printer's own maintenance/tools menu. Sometimes under an "Advanced" or "Additional Maintenance" heading rather than sitting next to the basic cleaning button.
These deeper levels use more ink and take longer, pushing harder and more thoroughly through the nozzle system, specifically designed for stubborn clogs that a standard cleaning cycle doesn't fully clear. Particularly relevant if your printer sat unused for an extended stretch, since dried ink after long dormancy often needs more than a single light pass to dissolve completely.
To find it: open the HP Smart app, go to your printer's settings. And look through Printer Maintenance or Tools for anything beyond the first cleaning option — sometimes labeled explicitly as a level or numbered tier, sometimes simply as a second, more thorough cleaning choice.
Run the basic level first, test with another nozzle check. And only escalate to the deeper level if the basic one didn't fully resolve the banding.
Why this works: a single basic cleaning cycle is calibrated to handle routine, minor buildup efficiently without wasting ink on every use. But it isn't always strong enough for genuinely stubborn, long-dried clogs.
The deeper levels exist precisely for this situation. And most consumer troubleshooting guides only ever mention running the single basic cycle repeatedly, when what's actually needed is escalating to a fundamentally more thorough cleaning tier rather than just repeating the same light one over and over.
This distinction between running the same cycle multiple times versus escalating to a genuinely deeper cleaning level is the key difference. And it resolves banding that survives two or three basic cleaning attempts.
Fix 4: Run Alignment After Cleaning, Not Before
Once banding has improved through cleaning, run Align Printhead from the same maintenance menu.
Why this works: alignment corrects the positioning of each color pass relative to the others. But it does nothing for a nozzle that isn't spraying evenly yet. Running alignment before cleaning wastes the step. Since you'd be fine-tuning the position of nozzles that aren't functioning correctly to begin with.
Fix 5: Check Your Media Type Setting
Confirm the media/paper type selected in your print driver actually matches what's physically loaded in the tray.
Why this works: media type settings control more than you'd expect. Including ink limits and paper feed adjustments calibrated specifically for that surface.
A mismatch — printing on plain paper with a glossy photo paper setting selected, or vice versa — can produce banding that has nothing to do with clogs or hardware at all. And correcting the setting resolves it immediately.
When to Call a Professional
If you've confirmed a clean nozzle check, switched off Draft/Eco mode, run both the basic and any available deeper cleaning level, aligned the printhead afterward. And verified your media type setting matches your paper — and banding persists at a consistent, regular interval down the page — measure that repeat distance, since a rotating internal component may be involved on laser models specifically.
Contact HP support with your printer's serial number and mention what you've already tried. Including whether you attempted a deeper cleaning level beyond the basic one, since that detail alone rules out the most common cause and speeds up their diagnosis considerably.
FAQ
What's the difference between running cleaning twice and running a deeper cleaning level?
Running the same basic cycle twice repeats the same lighter cleaning process. A deeper Level 2 or 3 cleaning cycle, where available, is a fundamentally more thorough process designed specifically for stubborn clogs the basic cycle can't fully clear.
It's a different tool, not just a repeat of the same one.
Where do I find deeper cleaning levels in HP Smart?
Look under Printer Maintenance or Tools in the app. Sometimes under an Advanced or Additional Maintenance section rather than next to the basic cleaning button. Not every model offers multiple levels, so check your specific printer's documentation if you don't see one.
Why does banding only happen in Draft mode?
Draft and Eco modes intentionally reduce ink coverage and speed up printhead passes to save time and ink. And this tradeoff directly causes banding as a side effect, independent of any clog. Switching to Normal or Best quality resolves this specific cause immediately.
Should I run alignment before or after cleaning?
Always after. Cleaning addresses whether nozzles are spraying correctly at all; alignment fine-tunes their positioning. Running alignment on a printer with unclean nozzles wastes the step. Since you'd be adjusting the position of ink that isn't spraying evenly yet.
HP printer banding horizontal stripes usually comes down to a clog that the standard cleaning cycle didn't fully clear.
Before assuming anything more serious, check whether your printer offers a deeper cleaning level beyond the basic one — it's a genuinely underused tool built for exactly this kind of stubborn banding. And it resolves cases that repeating the same light cycle never quite finishes.
Additional Resources
If you are still experiencing issues after trying the steps above. You may need to consult the official documentation or download the latest firmware (internal software) for your specific printer model.
