


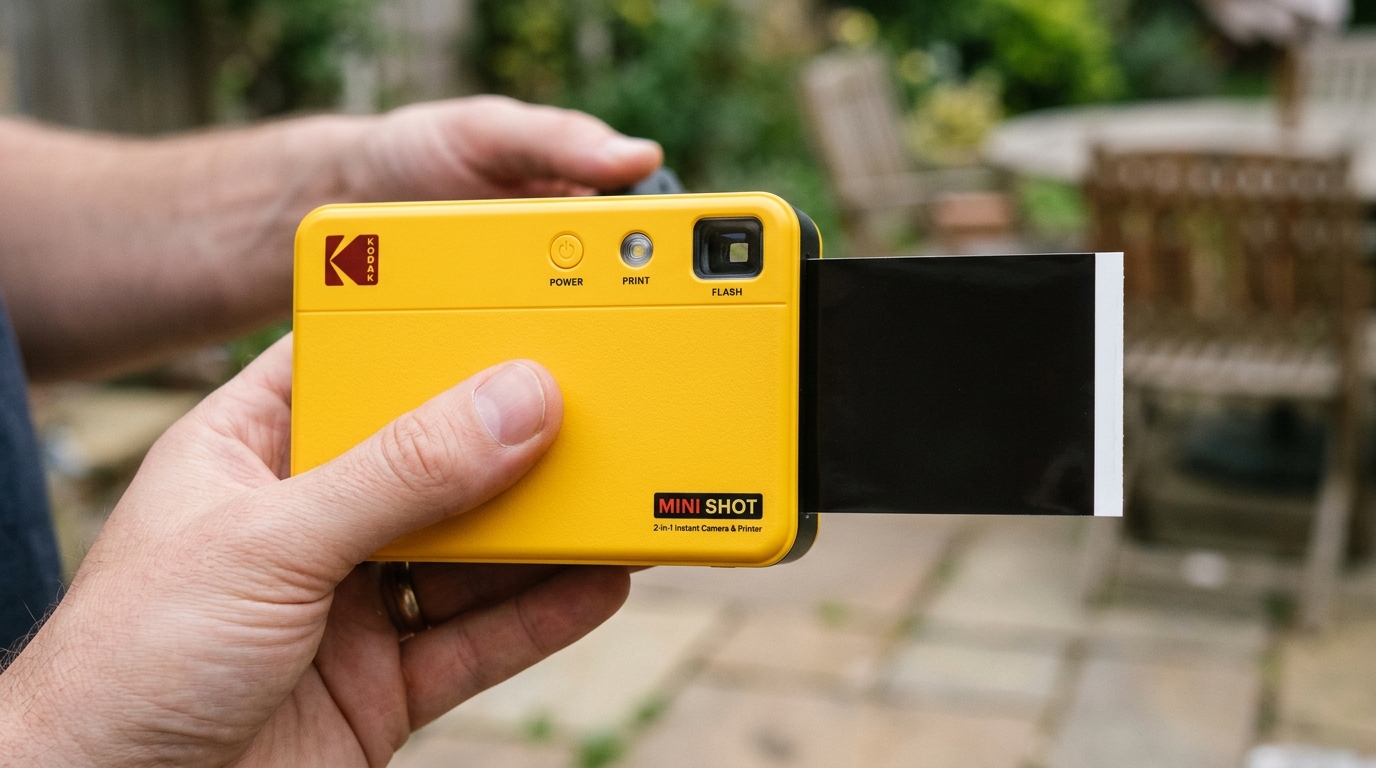
The Kodak Mini Shot series (including the Mini Shot 2, Mini Shot 3, and their Retro variations) are popular 2-in-1 hybrid devices combining a digital camera with a 4PASS dye-sublimation printer. Because these devices are portable, they are frequently subjected to lint, dust, and physical jolts.
When the camera begins printing **solid black photos** or **completely blank white sheets**, the culprit is almost always a mechanically stuck internal shutter blade or a frozen image sensor interface. Let's walk through how to diagnose and resolve this error.
How to Tell a Stuck Shutter from a Printer Error
Before disassembly or running deep cleaning cycles, you must determine whether the issue lies in the **camera capture engine** or the **4PASS printing engine**:
- Capture Engine Fault (Stuck Shutter/Sensor Lock): The camera screen displays a live preview, but the captured image is black, or the preview screen goes black right as the shutter button is pressed. The printer cycles and applies the 4 color passes (Yellow, Magenta, Cyan, laminate), but prints a solid black or solid white image.
- Print Engine Fault (4PASS Jam/Ribbon Block): The camera screen shows the captured image perfectly, but the printer fails to feed the paper, throws a cartridge error, or leaves one of the color passes completely missing.
Step 1: Perform a Hardware Pinhole Reset
Like many micro-controller devices, the Mini Shot's onboard image processor can hang, keeping the electronic shutter control line in a permanently closed state. A soft reset via the power button will not clear this cache.
- Ensure the camera is turned on.
- Locate the small **Reset Pinhole** on the side or bottom of the device (usually positioned right next to the micro-USB charging port).
- Straighten a paperclip and gently insert it into the hole until you feel a micro-switch compress.
- Hold the switch down for **5 seconds**.
- Release the paperclip. The camera will reboot.
- Take a test photo to check if the image sensor captures details.
Step 2: Force Shutter Solenoid Cycle
If the hardware reset does not resolve the issue, the physical shutter blade (a thin plastic leaf behind the lens assembly) may be physically bound. This is often caused by micro-dust or a minor drop.
You can force the solenoid driver circuit to send a high-voltage pulse to cycle the shutter:
- Turn the camera on and enter the **Menu** panel.
- Navigate to the **Flash Settings** menu.
- Set the flash to **Always On (Forced Flash)**.
- Aim the camera at a bright light source (such as a window or light bulb).
- Press the **Shutter** button. The combination of high light input and forced flash charging demands a high-draw cycle from the internal capacitor, which can jar a stuck magnetic shutter solenoid loose.
- If this fails, set the flash to **Off** and take a photo in a dim room to test the opposite limit.
Step 3: The Palm-Tap Mechanical Freeing Technique
If the shutter is physically stuck due to carriage alignment issues inside the lens barrel:
- Turn the camera off.
- Hold the camera firmly in your dominant hand.
- Gently but firmly tap the side of the camera body (opposite the lens) against the fleshy heel of your other palm. **Do not strike the camera against a hard surface**, as this can crack the internal LCD screen.
- This physical vibration is often sufficient to dislodge a bound shutter leaf from its track.
- Turn the camera on and look through the LCD screen. If the screen preview is active and changes brightness when you cover the lens, the shutter has successfully re-opened.
Step 4: Clean the Front Lens and Ambient Light Sensor
Sometimes, the camera is capturing images, but the exposure calculation is off due to a blocked sensor window, resulting in a solid black image (extreme underexposure):
- Locate the tiny circular window next to the flash assembly. This is the **ambient light sensor** or photodetection lens.
- Use a dry cotton swab to clean both the main lens glass and the light sensor window. Remove any fingerprints, oil, or pocket lint.
- Verify that your fingers are not blocking the light sensor when holding the camera body to take a shot.
