


The Quick Answer
HP Envy 4520 printing lines through your documents? A repair tech explains the #1 cause and the overnight soak method for stubborn dried-ink clogs.
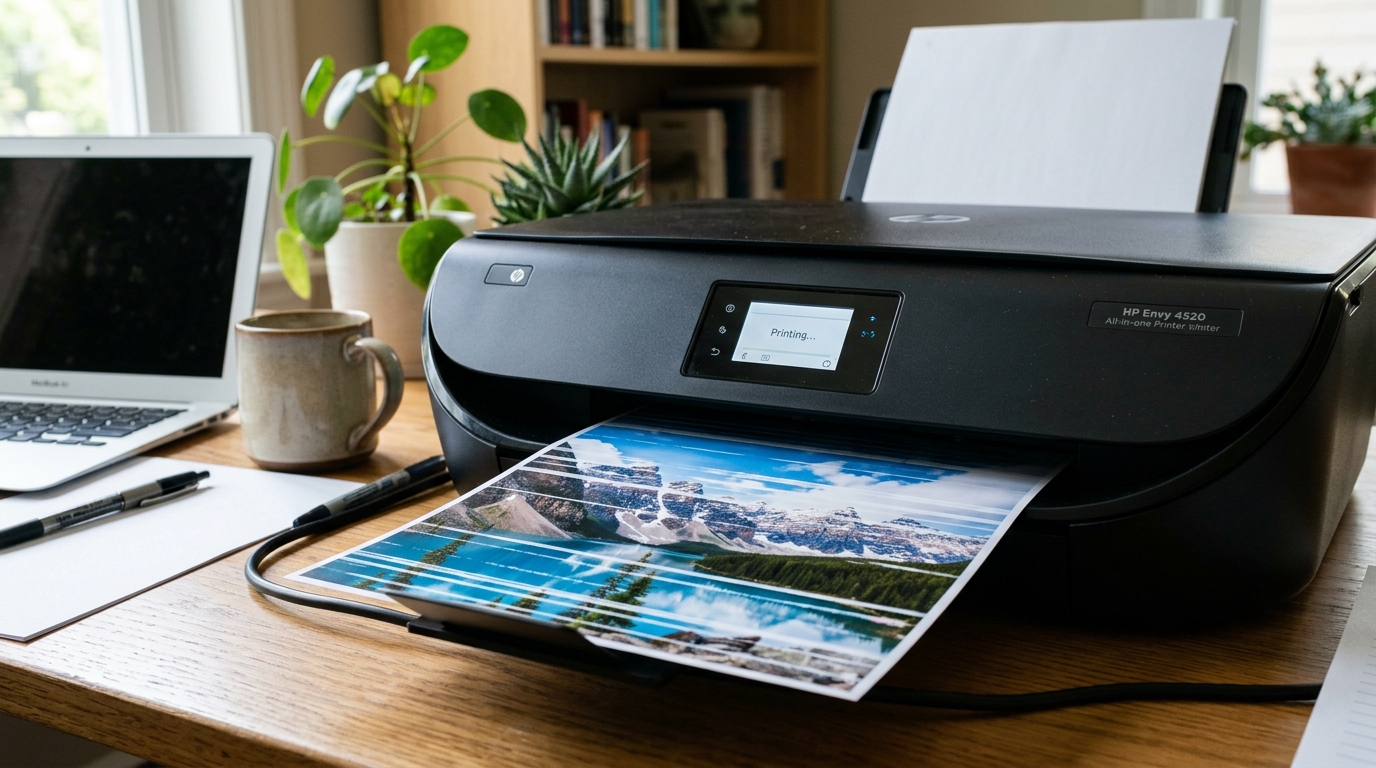
Streaks running through your text, a faint white gap slicing across every page at the same spot, or colors that fade out in stripes — printing lines on an HP Envy 4520 is one of the most common print quality complaints I see, and in my repair shop it has one dominant cause by a wide margin.
This is an older, well-loved model at this point, and its most frequent problem isn't really about the printer failing.
It's about dried ink, and the good news is dried ink is almost always fixable.
Quick-Fix Summary
Fast version:
- Run the built-in cleaning cycle — the first and most important step.
- Check ink levels honestly — low ink causes lines before it causes total failure.
- Run an alignment after any cleaning cycle, not before.
- Use genuine, fresh cartridges — age and authenticity both matter here.
- Try the overnight soak method for stubborn lines that survive normal cleaning — my uncommon tip.
Why This Printer Gets Lines So Often
The Envy 4520 has been around for years, and printers of this age and type share a common vulnerability: inkjet printheads dry out during periods of non-use.
If this printer sits for a week, a month, or longer between print jobs — which describes most home printers most of the time — the ink sitting in the microscopic nozzles at the tip of the printhead begins to dry and thicken.
A partially clogged nozzlesprays inconsistently or not at all, and a line of missing . Faint color is exactly what a dead or struggling nozzle looks like on the page.
Why this matters: most lines on this printer aren't a sign of hardware failure.They're a sign of a nozzle that needs to be flushed clean again. And that's squarely within what a normal cleaning cycle is designed to fix — sometimes it just needs more patience or a different technique than a single quick cycle provides.
Fix 1: Run the Built-In Cleaning Cycle
From the printer's control panel or the HP Smart app, find the printer maintenance or toolbox menu and run Clean Printheads (sometimes called a cartridge or nozzle cleaning cycle). Print a test page afterward to check whether the lines have improved.
Why this works: the cleaning cycle forces ink through the nozzles under pressure specifically to dissolve and clear minor dried-ink blockages.It's the printer's own built-in first line of defense against exactly this problem. And it resolves the majority of line issues on its own.
Fix 2: Check Ink Levels Honestly
Open the HP Smart app or the printer's own status menu and check actual ink levels for each cartridge — don't rely on how full a cartridge looks or feels, since inkjet cartridges don't always give an accurate visual read.
Why this works: a cartridge running low doesn't fail all at once — it typically produces streaking, fadedsections, or lines well before it stops printing entirely, because there's not enough ink pressure . Volume to feed every nozzle evenly.Lines that correspond to a specific color (a colored stripe, .
Black text with white gaps) often point directly at whichever cartridge is running low.
Fix 3: Run an Alignment After Cleaning, Not Before
Once you've run a cleaning cycle and confirmed improvement, run the printer's Align Printheads function from the same maintenance menu.
Why this works: alignment corrects the physical positioning of each color relative to the others, which affects sharpness and color accuracy — but it does nothing for a clogged nozzle. Running alignment before cleaning wastes a step, because you'd be fine-tuning the position of nozzles that aren't spraying evenly yet.
Clean first, then align, and each step does the job it's actually designed for.
Fix 4: Use Genuine, Fresh Cartridges
If you're using refilled, remanufactured, or old cartridges that have sat unused for a long time — even genuine HP ones — consider testing with a fresh. Genuine cartridge to see if lines improve.
Why this works:ink formulation matters more than people expect for consistent nozzle spray. And third-party or old ink can behave differently inside a printhead engineered around specific ink chemistry — sometimes drying faster, sometimes flowing less evenly.
This isn't true in every case, but when lines persist despite thorough cleaning, a cartridge swap is a cheap, fast way to rule ink quality in or out as a factor.
Fix 5: The Overnight Soak Method (My Uncommon Tip)
Here's the technique for lines that survive two or three quick cleaningcycles run back to back — the stubborn cases where a fast. Repeated approach just isn't cutting through what's actually a deeper, older clog.
Run one cleaning cycle as usual. Then, rather than immediately running another, power the printer off completely and let it sit untouched overnight — eight hours or more. In the morning, power it back on and run the cleaning cycle again, then print a test page.
Why this works:the cleaning cycle uses a small amount of specialized fluid to help dissolve dried ink in the nozzle channels. But dissolving genuinely old, thick deposits takes more than the few seconds of active cleaning a single cycle provides — it takes soak time.
Running cycle after cycle back to back mostly just burns through ink without giving that fluid meaningful time to work on stubborn residue.A long, quiet rest period lets the cleaning fluid sit in contact with old deposits . Soften them gradually, the same principle a mechanic uses when soaking a rusted bolt overnight instead of just cranking harder on it.
This is a genuinely different approach from repeated quick cycling, and it resolves lines that multiple same-day cleaning attempts leave completely unchanged — especially on a printer this age that's likely seen its share of dormant stretches over the years.
When to Call a Professional
If you've run cleaning cycles, tried the overnight soak method, confirmed healthy ink levels with fresh genuine cartridges. And aligned the printheads — and a line still appears in the exact same position on every print — the printhead itself likely has a permanently damaged or worn nozzle that cleaning can't restore.On the Envy 4520, the printhead is typically integrated with the ink cartridges rather than a separate replaceable part.
Meaning a persistent, unfixable line often means it's time to replace that specific color cartridge outright rather than the whole printer. If lines appear across multiple colors simultaneously and nothing above helps, and the printer is old enough that individual cartridge replacement feels like throwing good money after bad, weigh the cost of a full new printer — this model is old enough now that a modern equivalent may cost little more than a full set of replacement cartridges.
FAQ
Why does my HP Envy 4520 get lines through printed pages?
The most common cause by far is dried ink partially clogging the printhead nozzles. Especially if the printer sits unused between print jobs. A cleaning cycle is almost always the right first step.
I've run the cleaning cycle three times and the line is still there. What now?
Try the overnight soak method: run one cleaning cycle, power off completely, let it rest at least eight hours, then run the cycle again. Quick repeated cycles often don't give the cleaning fluid enough time to soften old, stubborn deposits.
Does low ink cause lines, or just complete printing failure?
Low ink typically causes streaking, fading, and lines well before a cartridge fails completely — check actual ink levels honestly rather than assuming a cartridge that "looks fine" has enough ink for even spray pressure.
Is the printhead replaceable separately from the cartridges on this model?
On the Envy 4520, the printhead is generally built into the ink cartridges themselves rather than a separate component. So a persistent unfixable line in one color typically means replacing that specific cartridge rather than a standalone printhead part.
Printing lines on an HP Envy 4520 almost always trace back to dried ink in the nozzles, not a dying printer. Run the cleaningcycle, check your ink levels honestly, align only after cleaning — .
For the stubborn lines that won't quit, give the overnight soak method a try before assuming you need new hardware. Patience genuinely beats repetition on this specific problem.
Additional Resources
If you are still experiencing issues after trying the steps above, you may need to consult the official documentation or download the latest firmware (internal software) for your specific printer model. We recommend checking the following official resources:
