


The Quick Answer
Learn how to calibrate any Munbyn label printer, including desktop models, the ITPP130, and portables, to fix feeding and alignment issues.
If I could teach every Munbyn owner exactly one skill, it would be this one. Learning how to calibrate a Munbyn label printer solves the blinking red light, cures label skipping, fixes vertical misalignment, and prevents most of the problems that fill the rest of my repair blog.
It takes under a minute, costs nothing, and yet it's the step people skip — usually because nobody explained what it does or when it's actually needed.
This is the master guide: the method for every Munbyn model type, the mistakes that make calibration silently fail, and a widely misunderstood fact about where calibration lives that will save you from recalibrating at all the wrong times.
Quick Summary
- Desktop models (ITPP941 family, ITPP129, etc.): load 4+ connected labels, hold FEED until one beep, release, hands off.
- ITPP130: easiest of all — reinsert paper from the back feed slot with power on; it calibrates itself.
- Portable models (P44S and friends): calibrate via the FEED/power button per your quick-start card, or through the Munbyn app's printer settings.
- When: every new roll, every size change, after every reset. Not when you switch computers — more on that below.
What Calibration Actually Is
Inside every Munbyn, a small gap sensor watches the paper path for the spaces between labels. During calibration, the printer feeds paper back and forth past that sensor, measures the exact distance between gaps, and stores that number in its own memory as your label length.
Every subsequent print is positioned using that stored number. It's how the printer knows where a label starts, where it ends, and where to stop feeding. One number, doing all that work — which is why one stale number causes so many different-looking problems.
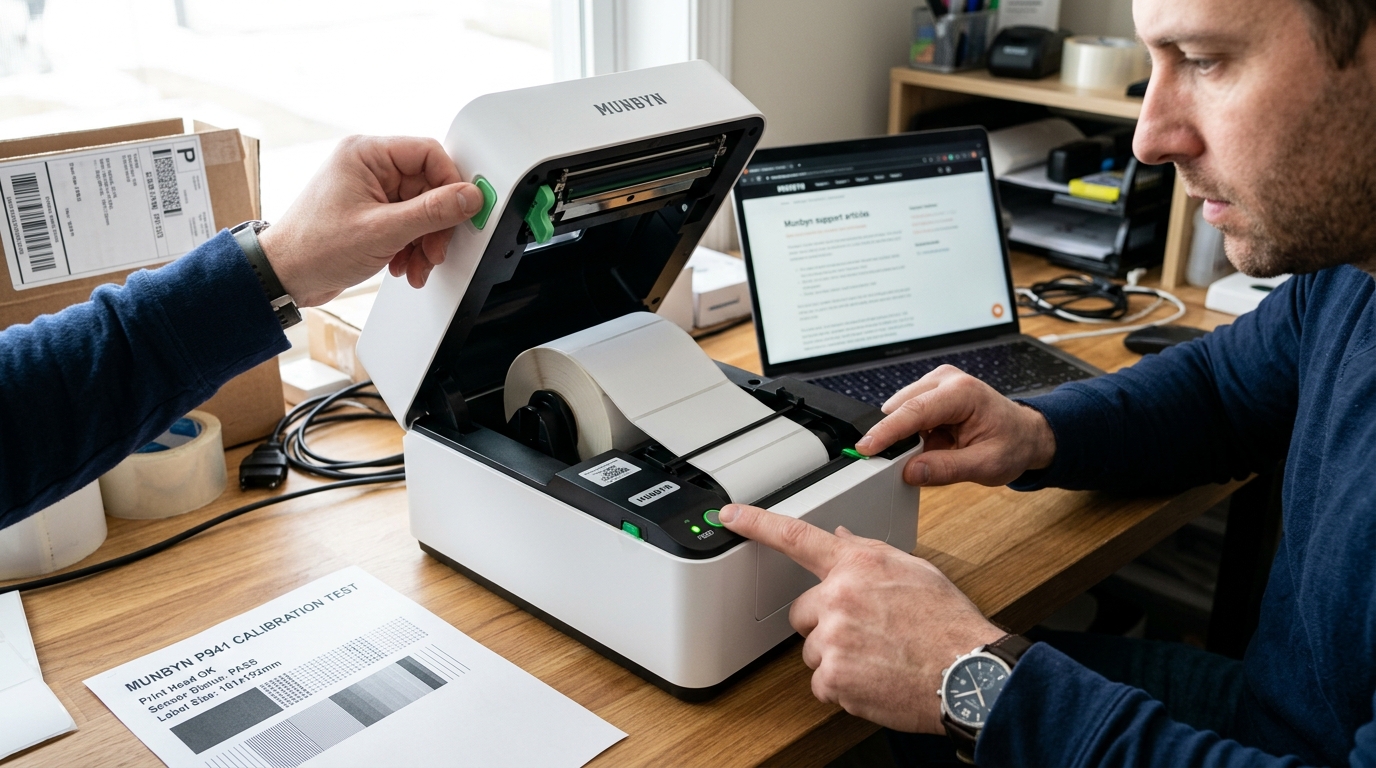
Method 1: The Universal Button Method (Desktop Models)
This works on the ITPP941, ITPP941B, and virtually every desktop Munbyn:
- Load at least four connected labels into the printer, sitting flat and straight.
- Press and hold the FEED button (the one with the status light).
- Release the moment you hear one beep.
- Hands off. The printer feeds the paper back and forth, then stops. Light turns green: your label size is stored.
Why four labels: the printer needs multiple gaps to pass the sensor to measure with confidence. Feed it a short strip and it runs out of paper mid-measurement — the calibration fails silently, the red light returns, and the owner concludes the printer is broken.
In my shop, "calibration doesn't work" is nearly always "calibration was attempted with two labels." Four or more, connected, every time. Write it on the printer if you have to; I've seen customers do exactly that, and I approve.
Method 2: The ITPP130 Back-Feed Trick
The ITPP130 has the easiest calibration in the lineup, and most owners don't know it exists: with the printer powered on, pull the paper out completely, then reinsert it straight into the back feed slot. The printer grabs it, runs it briefly back and forth, and calibrates automatically — no buttons at all.
Why this works: the ITPP130's firmware treats fresh paper at the rear slot as a "new media" event and runs its measurement routine on its own, a design choice aimed at fan-fold users who reload often. The button method from Method 1 works on this model too, but once you've used the back-feed trick, you won't go back.
(I cover the ITPP130's quirks in much deeper detail in my dedicated ITPP130 calibration guide.)
Method 3: Portable Models
Portables like the P44S calibrate through a button sequence — typically holding FEED or a power-button combination described on the model's quick-start card — or, more conveniently, through the Munbyn app: connect to the printer in the app, open printer settings, and look for a Calibrate or Learn Paper option. Load a few connected labels first, same as always.
Why the app route matters: portables have fewer buttons wearing more hats, so button sequences vary by model and are easy to misremember. The app menu is labeled in plain words and works identically across portable models. When in doubt on a portable, calibrate from the app.
When You Must Calibrate — and When You Truly Don't (My Uncommon Tip)
Here's the misunderstanding I correct most often across my counter, and clearing it up will save you both wasted effort and missed steps: calibration is stored in the printer, not on your computer.
That one fact sorts every situation:
You MUST calibrate after: loading a new roll (yes, even the "same" size — batches vary), switching label sizes, any factory reset (the reset erases the stored number), and any time positioning symptoms appear — blinking red light, skipped blanks, prints starting too high or low.
You do NOT need to calibrate after: connecting the printer to a new computer, reinstalling a driver, switching from USB to Bluetooth, printing from a different app, or lending the printer to a friend. The number rides inside the printer's memory through all of it.
Why this matters: people burn time recalibrating after every driver hiccup (unnecessary — that number never left the printer) while skipping the calibration after a reset (essential — the reset just erased it). Once you know where the number lives, you know exactly when it's at risk.
New paper or wiped memory: calibrate. New computer: don't bother.
That single sentence resolves half the calibration confusion I hear.
When Calibration Won't Hold: The Three Saboteurs
Calibration completes, works briefly, fails again? Something is feeding the sensor bad information, and it's one of three things.
Loose guides: snug the green guides to just touch the paper edges, or the roll wanders and gaps slide away from the sensor's eye. A dirty sensor: dust and adhesive on the sensor window cause calibration to succeed Monday and fail Thursday — power off, wipe the window with 70%+ isopropyl alcohol on a swab, dry, recalibrate.
Marked backing paper: flip your roll; printing or dark marks on the liner read as phantom gaps. Swap to plain-backed labels and try again.
Why this order: guides take ten seconds, cleaning takes two minutes, and a test roll costs a few dollars — cheapest experiment first is how a repair bench stays profitable and how you stay sane.
When to Call a Professional
If a clean, snug, plain-labeled printer still can't complete or hold a calibration — the paper feeds back and forth but the red light always returns — the gap sensor itself is likely failing, and that's a component fault beyond home repair. Email Munbyn support describing exactly what happens during the calibration run (a short video is gold), and include a self-test page if the printer will produce one.
Sensor failures under warranty typically end in a replacement unit. Out of warranty, compare the quote to a new printer honestly; on this hardware class, new usually wins, and you deserve that arithmetic before any bench fee.
FAQ
How often should I calibrate my Munbyn label printer?
Every new roll and every size change — a ten-second habit that prevents most feeding problems. Plus immediately after any factory reset, which erases the stored measurement.
Do I need to recalibrate after connecting to a new computer?
No. Calibration lives in the printer's own memory, not on any computer. New PC, new driver, new app — the stored label size rides along untouched.
Why does my calibration keep failing with the red light returning?
Usually too little paper (use four or more connected labels), a dirty gap sensor, or labels with marked backing paper. Check those three in that order.
Is calibration the same on every Munbyn model?
The principle is identical — the printer measures your label length — but the trigger varies: FEED-button hold on desktops, the back-feed trick on the ITPP130, button sequence or app menu on portables.
Knowing how to calibrate a Munbyn label printer is the closest thing this hardware has to a superpower: one minute, no tools, and it cures or prevents most of what goes wrong. Four connected labels, hold FEED to the beep, hands off — and remember where the number lives.
New paper or wiped memory means calibrate; everything else means relax. Master that rhythm and your printer becomes what it was always meant to be: boring.
