


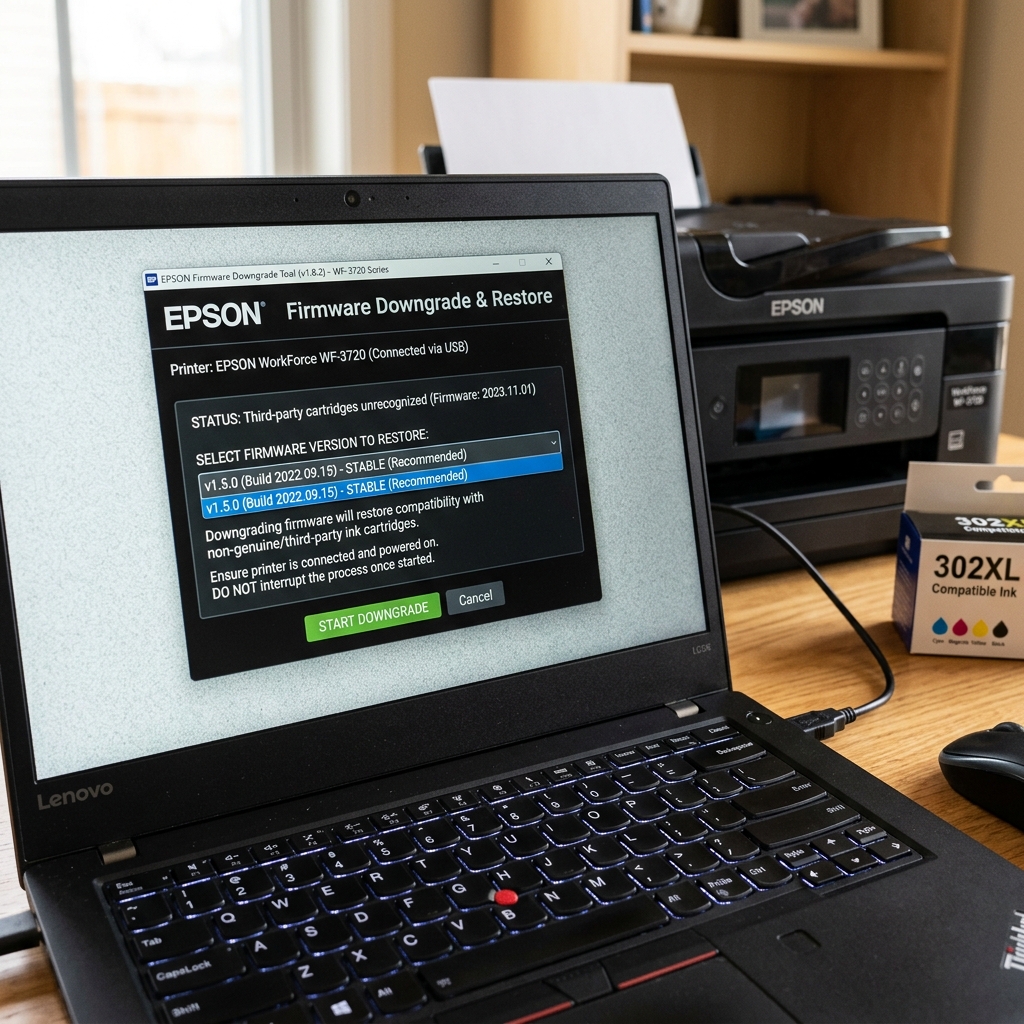
The Trap of the "Recommended Update"
You turn on your Epson printer, and a helpful popup appears on your computer screen recommending a critical firmware update. You click "Yes." Ten minutes later, your printer reboots, and suddenly the screen flashes a red error: "Ink Cartridges Not Recognized."
Your printer isn't broken, and your cartridges aren't empty. You have just been caught in the printer industry's cat-and-mouse game.
Epson (and other manufacturers) frequently push firmware updates whose primary undocumented feature is updating the DRM (Digital Rights Management) database to block the microchips on third-party, compatible ink cartridges. If you use cheap aftermarket ink, updating your firmware is the fastest way to brick your supply.
The only way to undo this is to downgrade the firmware back to an older version.
Preparation: Finding the Old Firmware
Epson strictly scrubs older firmware versions from their official websites. You cannot download a downgrade from Epson directly. You must rely on third-party firmware archives. Sites like InkChip, WicReset, or various printer modification forums host older firmware packages.
You are looking for an installer package specifically for your model (e.g., WF-3640) that dates to before the block occurred. These usually come as an executable (.exe) file for Windows.
Step 1: Enter ROM Recovery Mode
You cannot downgrade firmware while the printer is running its normal operating system, because Epson's security checks will reject any firmware version older than the one currently installed. You must bypass the OS entirely by booting into Recovery Mode (sometimes called ROM menu or Program Update mode).
The button combination to enter this mode varies drastically by model family. The printer must be powered off first. While off, you press and hold a specific combination of buttons simultaneously, keeping them held until the screen turns on with a raw black background and white text.
Common Combinations for WorkForce & XP Models:
- Combo 1 (Touchscreens): Hold [Power] + [Down Arrow] + [Left Arrow] + [Cancel/Stop]
- Combo 2 (Physical Buttons): Hold [Power] + [Home] + [Power] + [Up Arrow] (Note: varies heavily)
- Combo 3 (EcoTanks): Hold [Power] + [Cancel/Stop] + [Right Arrow]
You will know you are successful when the screen lights up in white text reading Program Update Mode or ROM Recovery.
Step 2: Flash the Firmware via USB
You must use a physical USB cable for this step. Wi-Fi drivers do not load in Recovery Mode.
- Plug the USB cable into yourectivity-issues/dymo-connect-not-detecting-printer" title="Fix DYMO Connect Not Detecting Printer (USB & Wi-Fi)">USB cable into your printer and your Windows PC.
- Run the older firmware"/fujifilm/error-codes-alerts/instax-mini-link-3-not-printing-battery-drain-fix" title="Fix Instax Mini Link 3 Not Printing & Fast Battery Drain">firmware
.exefile you downloaded earlier. - The software should detect aivity-issues/dascom-pos-printer-cash-drawer-not-opening" title="Fix Dascom POS Printer Cash Drawer Not Opening (RJ11 Fix)">software should detect a device connected via USB (it may just show up as "USB Device" or a generic port number since the printer OS isn't broadcasting its name).
- Select the device and click Update.
- Look at your printer's screen. You will see text flashing as the ROM is rewritten. Do not touch the printer, power cable, or USB cable during this process. A power failure here results in a dead motherboard.
- When the flash is complete, the printer screen will usually say
FINISHEDorUPDATE SUCCESSFUL. It will often ask you to press the OK or '0' button to turn off. - Turn the printer off, unplug the USB, and turn it back on normally. Your third-party cartridges should immediately be recognized again.
Step 3: Block Future Updates
If you don't block the software updater, Epson will simply reinstall the blocked firmware tomorrow. You must sever the software's ability to check for updates.
On Windows:
- Open the Start Menu and type
Services.msc. - Scroll down to find the Epson Customer Research Participation service, and the Epson Software Updater service.
- Right-click each, select Properties, and change the Startup Type to Disabled. Click Stop, then Apply.
- Open the Epson printer preferences (Control Panel → Devices and Printers → Printing Preferences), navigate to the Maintenance tab, click Software Update, and set it to "Never check for updates."
The Alternative: Chipless Firmware
If you are tired of dealing with chips entirely (for example, you are building a continuous ink supply system or a sublimation printer), you can flash Chipless Firmware. This is specially modified, hacked firmware (sold by third parties) that permanently disables the ink chip readers on the motherboard.
Once flashed, the printer will always read ink levels at 100%, allowing you to use completely chipless aftermarket cartridges forever.
