


The Quick Answer
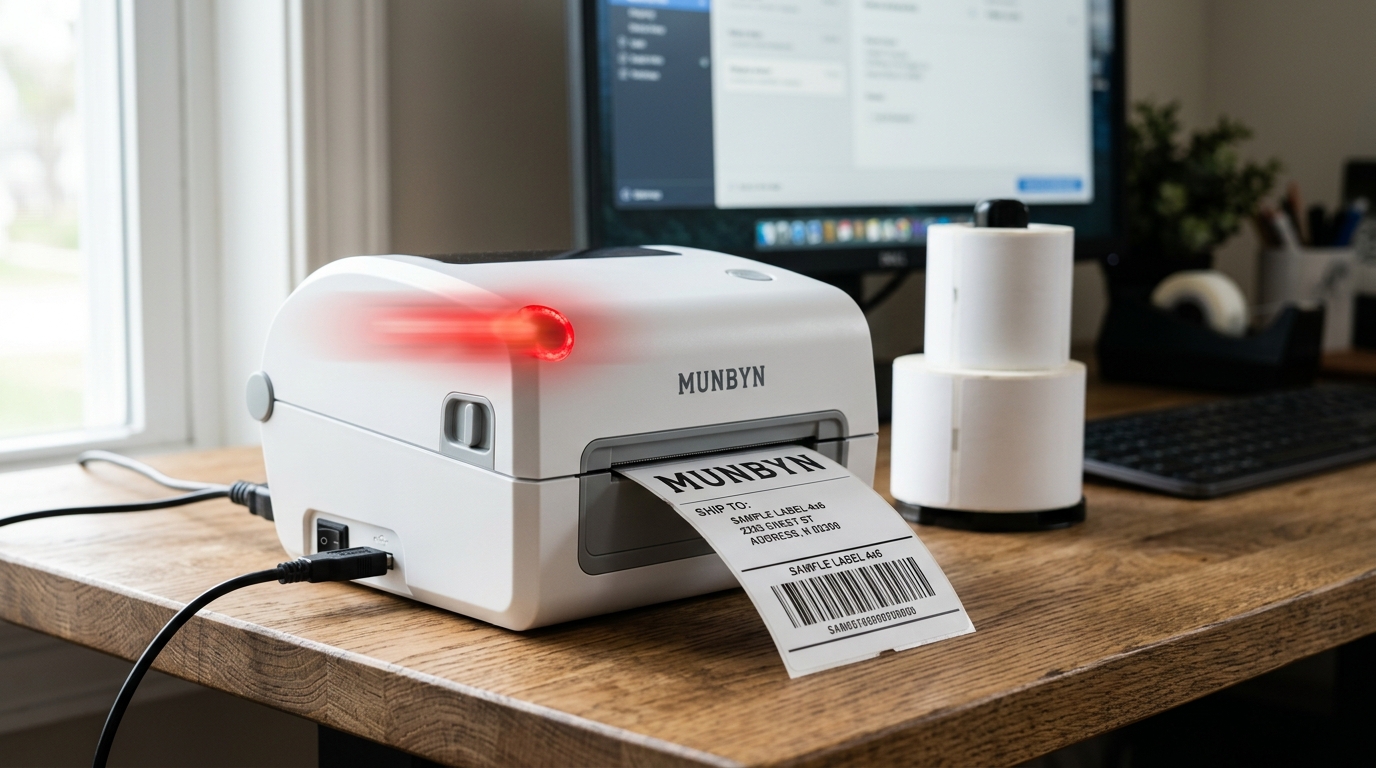
If your Munbyn printer's red light is blinking, it means it can't find your labels or doesn't know their size. Here is the 2-minute fix.
If your Munbyn printer's red light is blinking and nothing will print, take a breath. In my repair shop, this is the single most common Munbyn problem I see, and it's almost never a broken printer.
That blinking red light is just the printer's way of saying, "I can't find the labels, or I don't know how big they are."
The good news? The Munbyn printer red light blinking fix usually takes about two minutes. No tools. No new parts. I'll walk you through every fix below, starting with the easiest, and I'll explain why each one works so you actually understand your machine instead of just poking at it.
Quick-Fix Summary (Try These First)
Short on time? Here's the 30-second version:
- Check the paper. Make sure labels are loaded, printable side facing up.
- Recalibrate. Load at least 4 connected labels, then press and hold the FEED button until you hear a beep. Let go and let the printer feed paper on its own.
- Clear any jam. Open the lid and pull out torn or stuck label pieces.
- Clean the gap sensor. Dust on this little sensor causes most "mystery" red lights.
If those four things don't do it, keep reading. The detailed steps below cover the stubborn cases.
Why Is the Red Light Blinking in the First Place?
Your Munbyn is a direct thermal printer. Inside it sits a small part called a gap sensor. Its whole job is to shine light through your label roll and detect the thin gap between each sticker. That's how the printer knows where one label ends and the next begins.
When the red light blinks, the printer is telling you one of three things:
- There's no paper loaded at all.
- The paper is loaded but feeding crooked or jammed.
- The sensor can't detect the gaps, so the printer has no idea what size your labels are.
Customers bring me printers "that died overnight" all the time. Nine times out of ten, they just swapped in a new label roll and skipped calibration. The printer isn't dead. It's confused.
Fix 1: Reload Your Labels the Right Way
Open the lid and pull the roll out completely. Now look at it. The printable side (the smooth, blank side) must face up as it feeds out of the printer. If you can see any logo or printing facing up, flip the roll.
While you're in there, slide the green paper guides so they gently touch both edges of the label roll. Not crushing it. Just touching.
Why this works: Loose guides let the roll wander left and right as it feeds. When labels drift sideways, the gap sensor loses sight of the gaps and throws the red light.
I'd guess a third of the "broken" Munbyns on my bench just had guides sitting a half-inch too wide.
Close the lid firmly until it clicks on both sides. A lid that's latched on one side only will also trigger the red light on most models.
Fix 2: Run the Calibration (The Real 2-Minute Fix)
This is the step that solves most cases, so don't skip it even if you think your labels are loaded fine.
- Make sure at least 4 trong>4 connected labels are hanging out of the feed slot. Not one. Not two. Four or more, still attached to each other.
- With the printer on, press and hold the FEED button (the one with the red/green light).
- Hold it until you hear a beep, then let go.
- The printer will pull paper back and forth on its own. Don't touch anything. When it stops and the light turns green, you're done.
Why this works: During calibration, the printer measures the distance between label gaps and saves it to memory. That's how it learns your label size.
Feed it fewer than four labels and it doesn't have enough paper to complete the measurement, so the calibration fails and the red light comes right back. This "four label" detail is the part most people miss.
One more thing customers get wrong: they calibrate once and assume it's permanent. It's not. Recalibrate every time you switch label sizes, and honestly, every time you start a fresh roll. Even rolls of the "same" size can vary slightly between batches.
Fix 3: Clear a Hidden Paper Jam
Sometimes the printer prints half a label, jams, then blinks red. Open the lid and look closely along the paper path, especially near the tear-off edge. Thermal labels are sticky, and a torn corner can glue itself somewhere you won't spot at a glance.
Peel out any scraps you find. Then check the rubber roller (the black bar the paper rides on). Spin it slowly with your finger and look for label backing wrapped around it.
Why this works: Even a fingernail-sized scrap sitting over the gap sensor blocks its view completely. The printer thinks it's out of paper when it's actually staring at a stuck sticker.
Fix 4: Clean the Gap Sensor (My Uncommon Tip)
Here's the fix almost no other guide mentions, and it's saved me from "replacing" more thermal printers than I can count.
That gap sensor I keep talking about? It sits right in the paper path, and over months of printing it collects paper dust and tiny smears of label adhesive.
A dusty sensor reads gaps poorly, so you get random red lights that come and go. Calibration works one day, fails the next. Sound familiar?
Grab a cotton swab and a little isopropyl alcohol (70% or higher). With the printer off and unplugged, open the lid and find the small sensor window in the paper path — it looks like a tiny dark lens or slot, usually near the middle.
Wipe it gently. Give it two or three minutes to dry, then power on and recalibrate.
And while we're here: if you buy cheap third-party labels, flip the roll over and check the backing paper. Some budget labels have printing or dark marks on the liner.
Those marks confuse the gap sensor just like dirt does. In my shop, switching a customer to plain-backed labels has fixed more than one "haunted" printer.
Fix 5: Factory Reset the Printer
If nothing above works, reset the printer to wipe any bad settings from memory.
On most Munbyn models (like the ITPP941 and ITPP130): power the printer on, then press and hold the FEED button until you hear five quick beeps, followed by one long beep. Release.
That long beep means the reset is done. Now run the calibration from Fix 2 again, because a reset erases the saved label size.
Why this works: A failed print job or a bad driver setting can leave corrupted values in the printer's memory. The reset clears the slate so a fresh calibration can stick.
When to Call a Professional
Do the honest math before you spend money on repair. If you've reloaded the labels, calibrated with 4+ sheets, cleared the path, cleaned the sensor, and reset the printer, and the red light still blinks, the gap sensor or the main board may have failed. That's not a home repair.
Contact Munbyn support first (they're responsive and the printers often carry warranty coverage). If you're out of warranty, compare the repair quote against a new unit.
These printers are affordable enough that a board-level repair rarely makes sense. It pains me as a repair guy to say that, but I'd rather save you the money.
FAQ
Why does my Munbyn printer blink red after I change label rolls?
Because the printer lost track of the label size. Every new roll, even the same size, should get a quick recalibration: load 4+ connected labels, hold FEED until it beeps, and let the printer measure on its own.
What does a solid red light mean vs. a blinking one?
A solid red light usually means the lid isn't fully closed or the printer is completely out of paper. A blinking red light usually points to a feeding or calibration problem. Either way, the fixes above cover both.
Does the red light blinking fix work on all Munbyn models?
The steps are nearly identical across the ITPP941, ITPP941B, ITPP130, and RW402B. Button-hold timing varies slightly by model, so listen for the beeps rather than counting seconds.
Can I keep printing with the red light blinking?
No. The printer blocks print jobs until the error clears. Jobs you send now will sit in your computer's print queue, so clear that queue after you fix the light or you'll get a surprise stack of old labels.
Bottom line: the Munbyn printer red light blinking fix is almost always paper, calibration, or a dusty sensor — in that order. Work through the list top to bottom, keep that sensor clean, and recalibrate with every new roll.
Do that, and this is the last time you'll need to search for this error.
